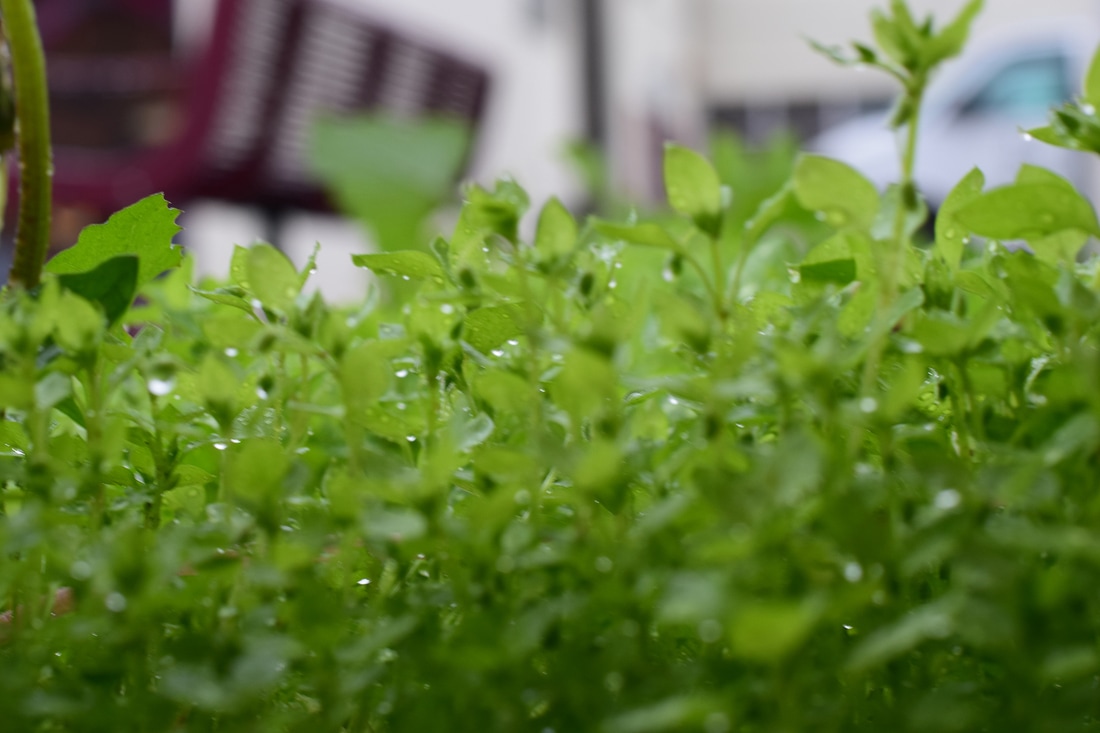
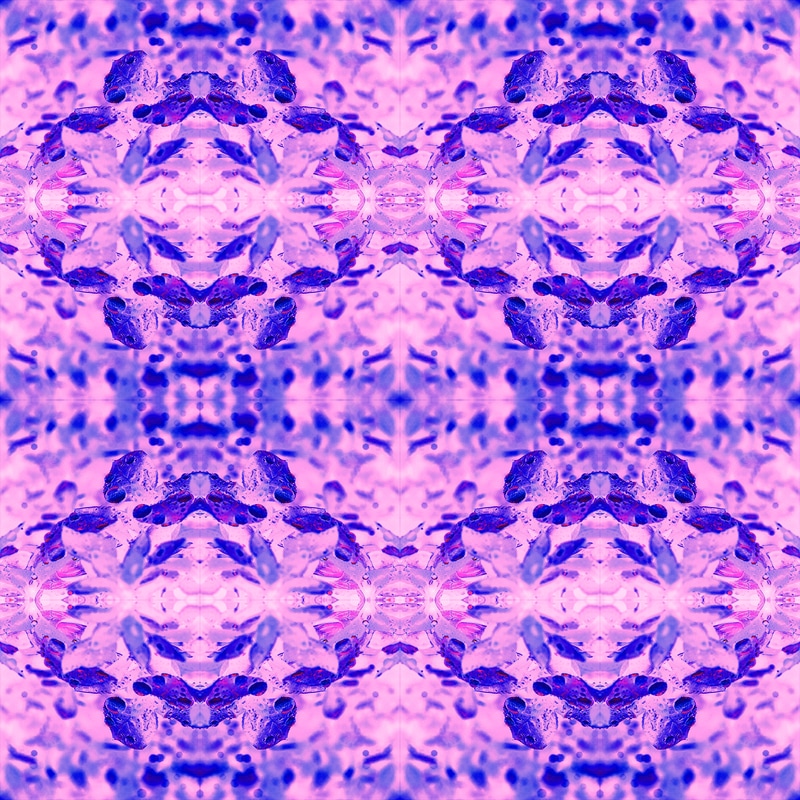
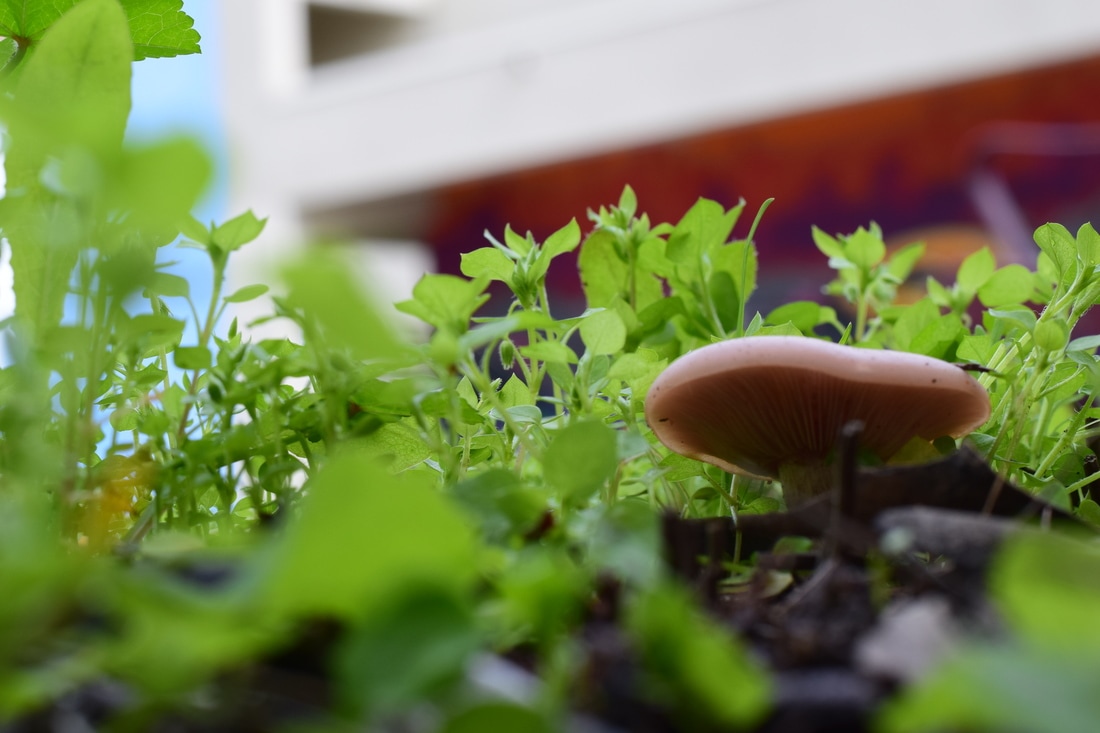
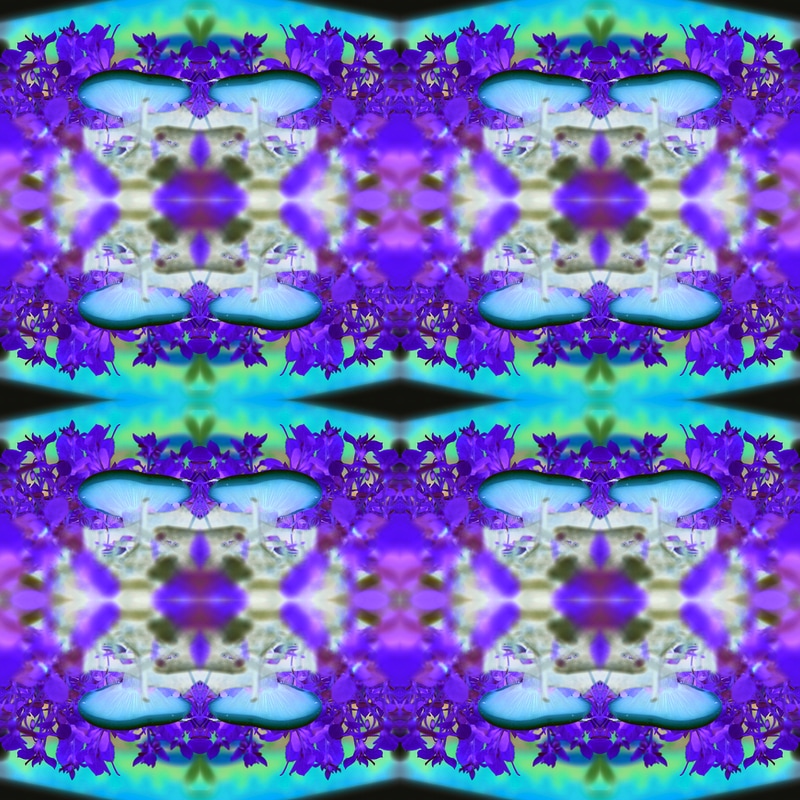
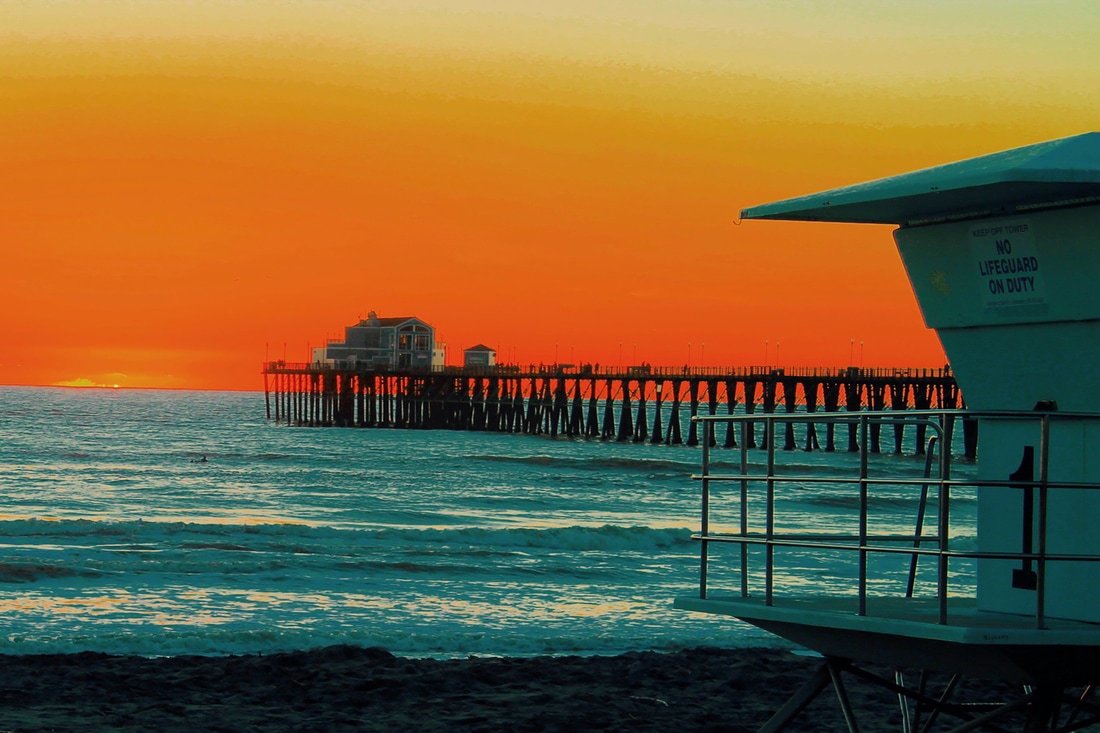
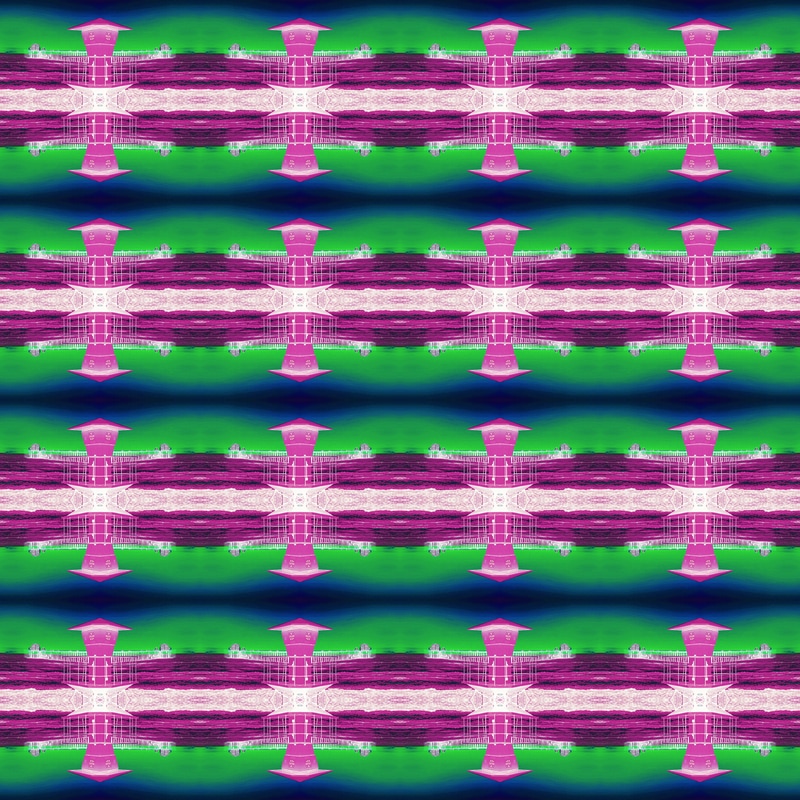
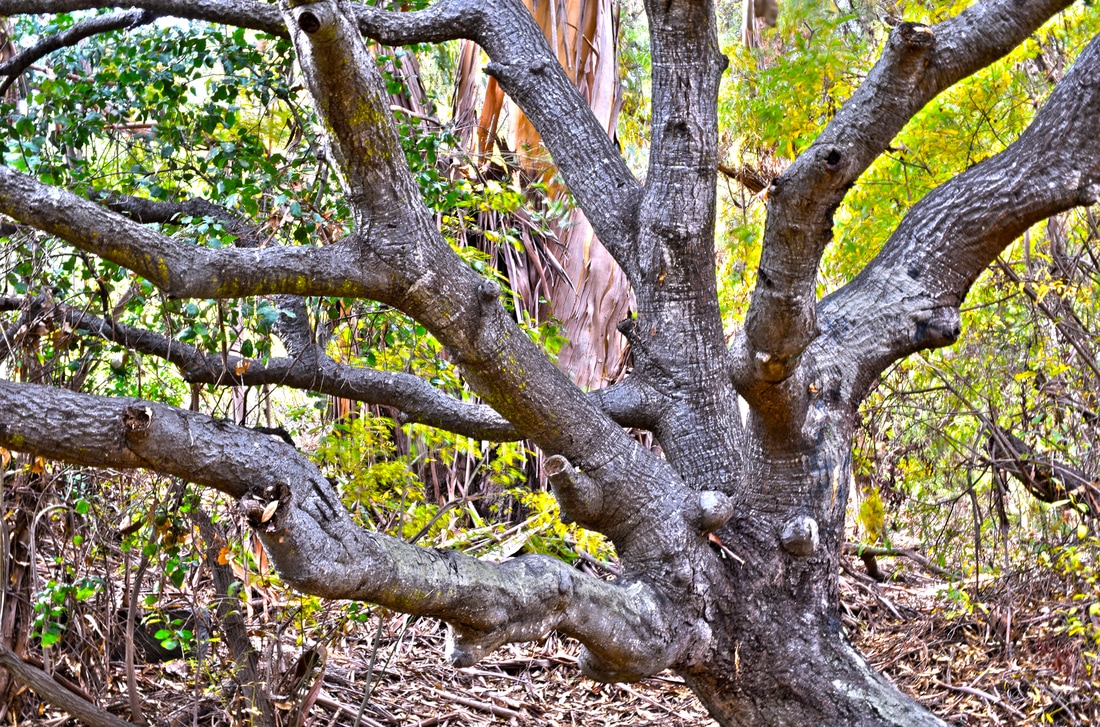
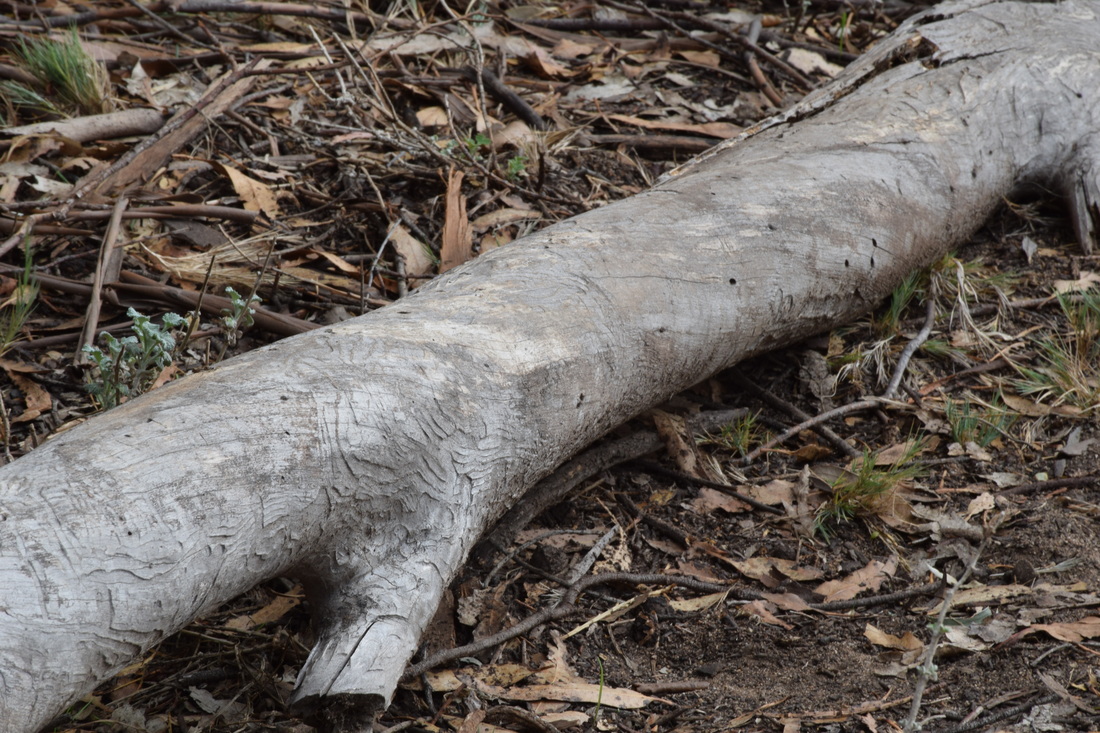
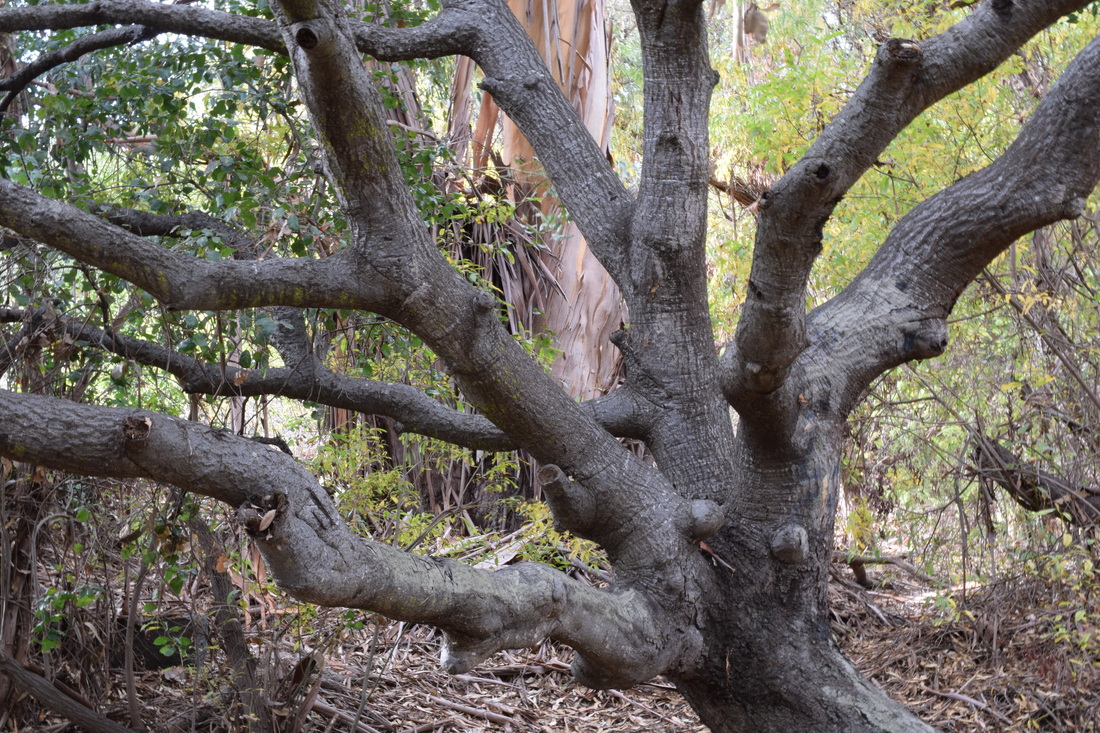
To me, a tessellation is an image editing technique used to reflect an image and create pattern. Most tessellations result in a clean seamless image with a creative and unique appeal to the viewer. To create a tessellation piece, it will be easiest to start by downloading a photoshop template to guide your duplications of the original photo. Once you add your original piece, you must crop the image to a 1 x 1 square so it has equal dimensions. Then once you have a perfect square, you can resize the image to match the size of the template. The smaller the image, the more duplicates you are going to need.... Place your cropped and resized image onto the top left corner of the template and make sure the guide lines are around the perimeter of your piece. Once you have this, you can duplicate your original photo layer. You then need to click, "Edit > Transform > flip horizontal/vertical. As you progress, make sure all edges line up and are a complete reflection of your original image. The thing I enjoyed most about this project was getting to tamper with certain images and colors to make some unique designs. My favorite image was the tessellation that I created out of the tree because the colors, detail, and pattern came out completely unique. This project was simple and straight to the point, but I struggled with choosing photographs that would work the best for this project.
0 Comments
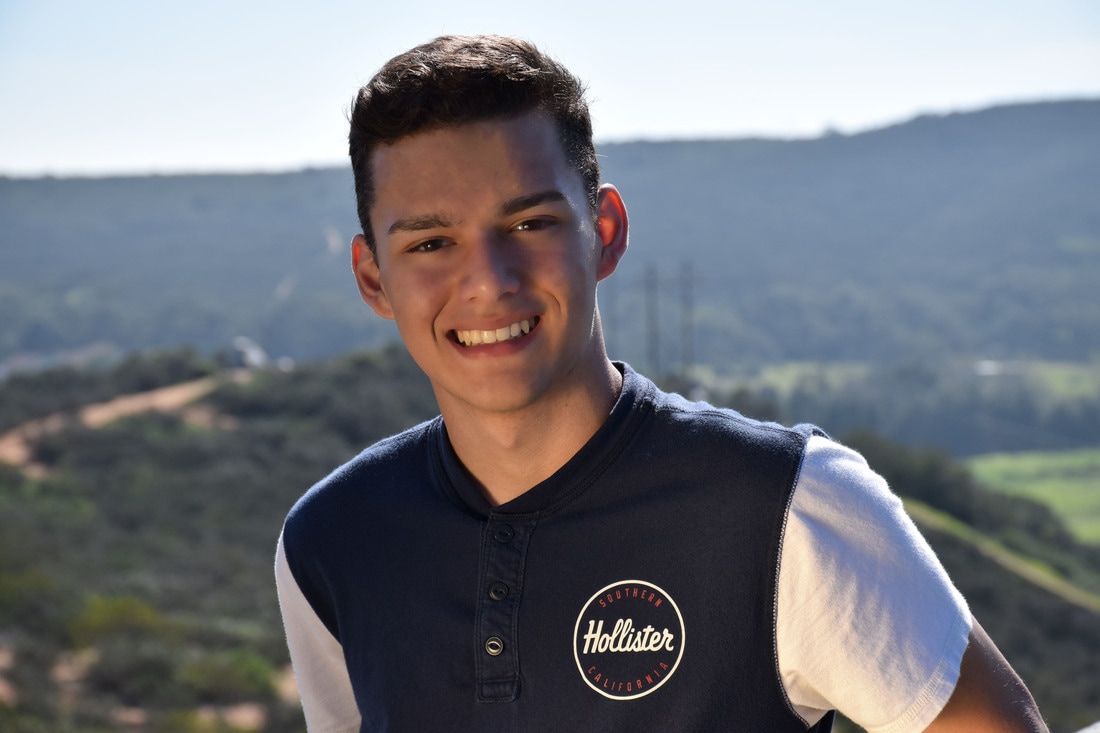
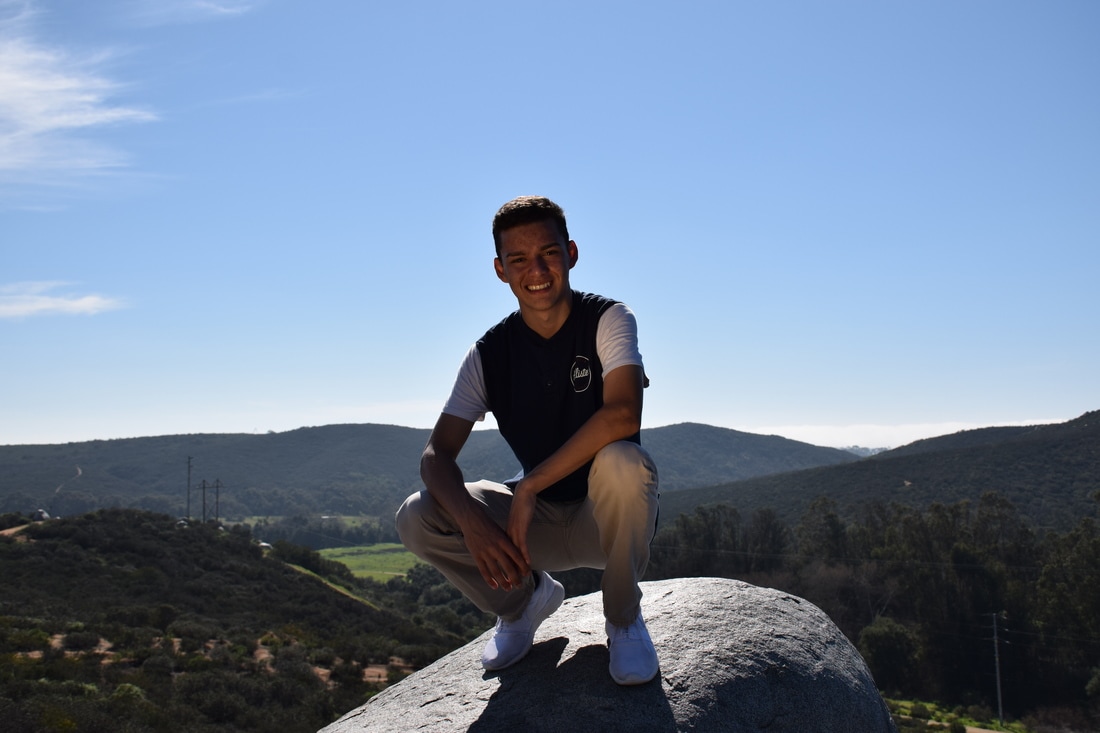
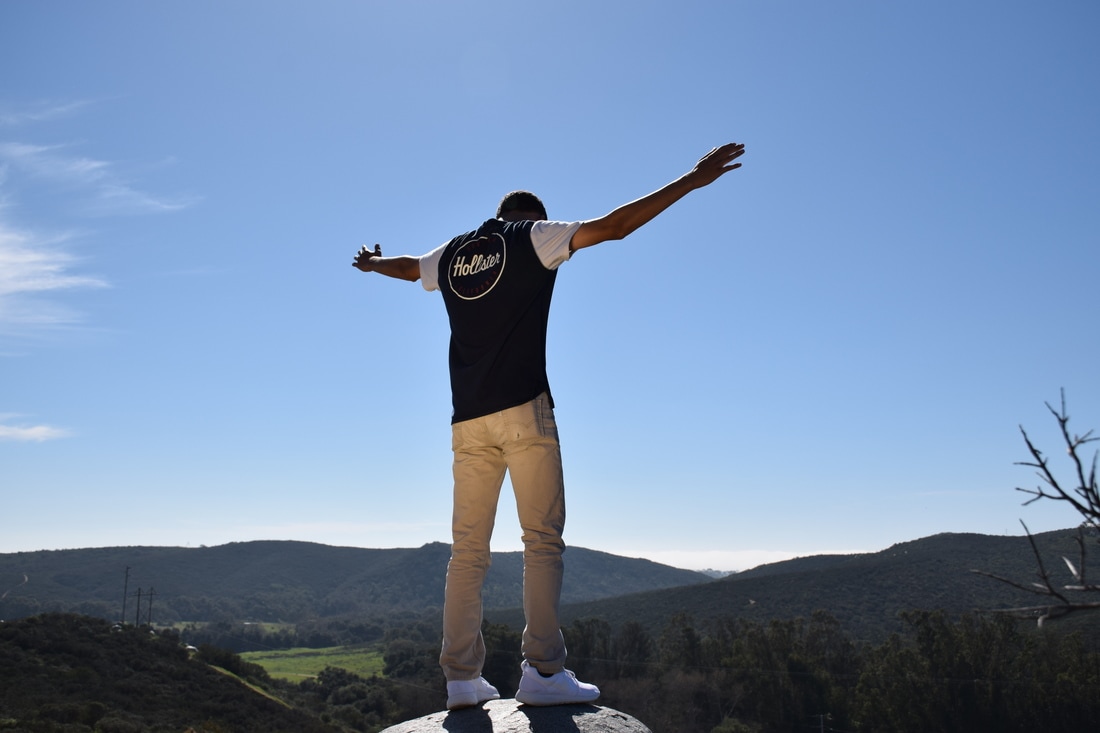
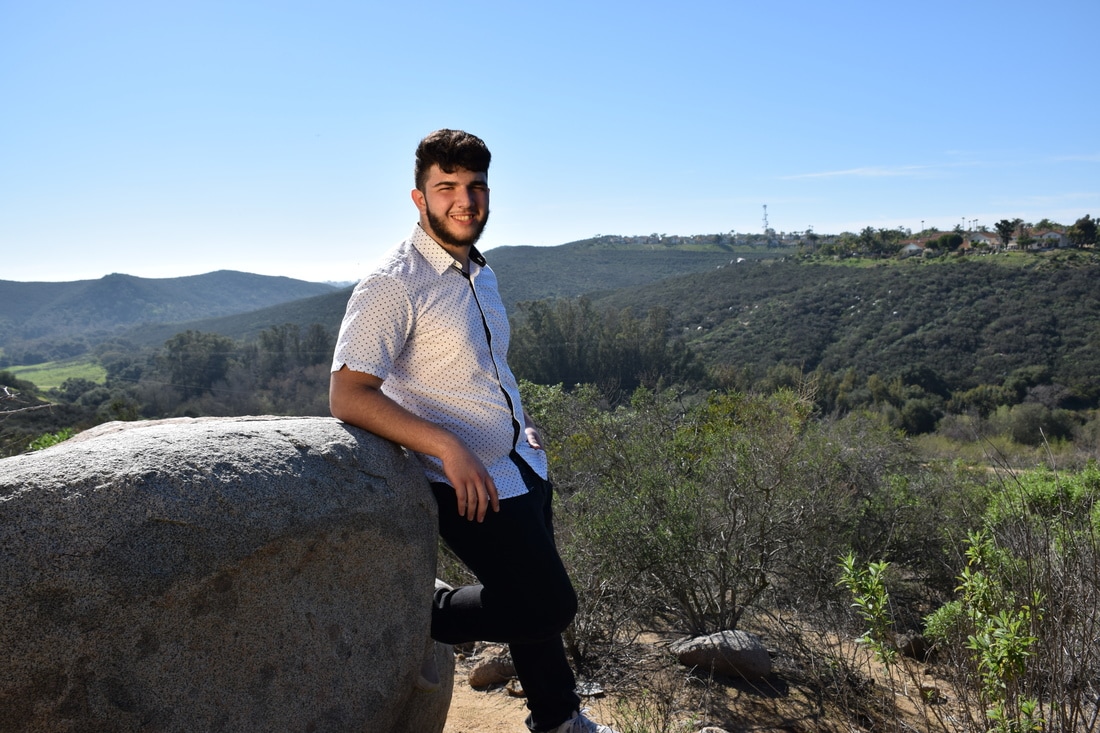
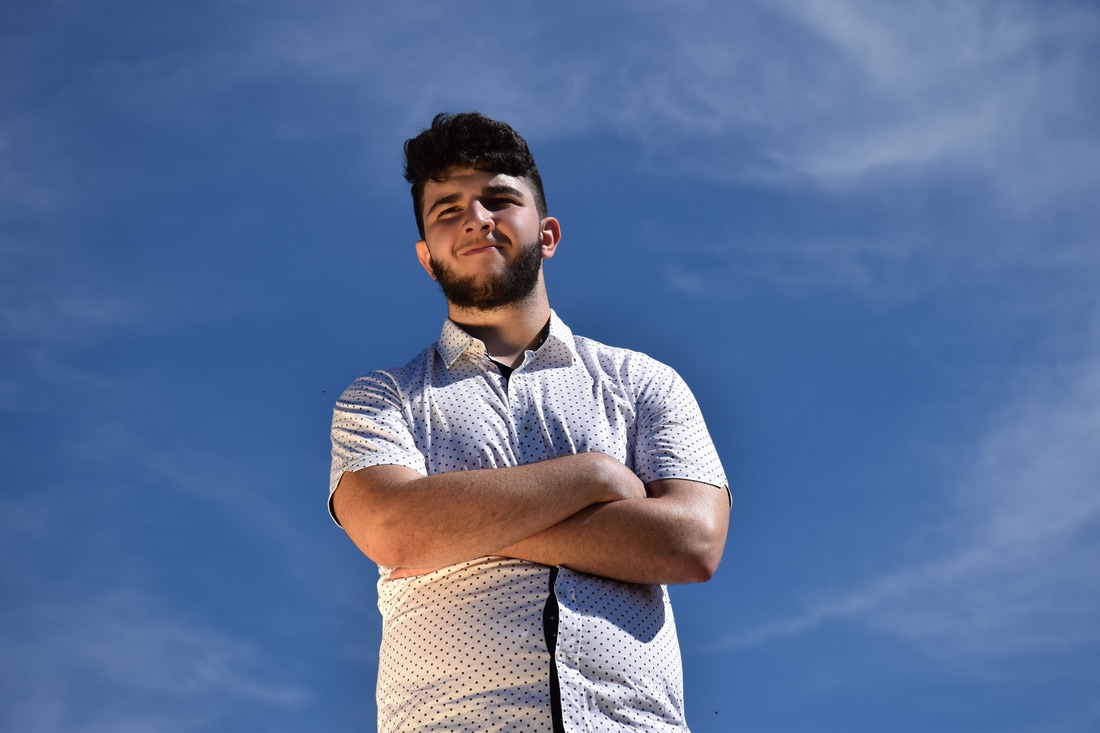
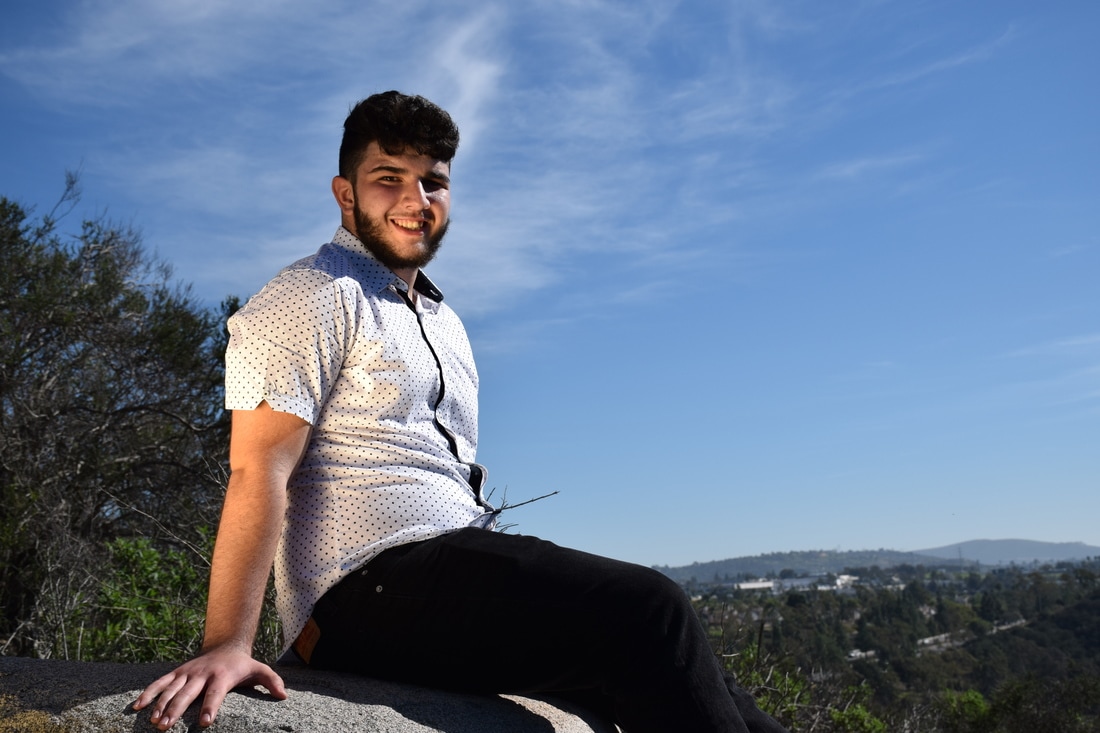
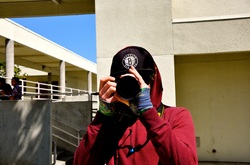
1) During our class trip to duckpond, I learned that lighting and scenery is a key element in portraiture.
2) We had no help choosing poses for this project. We made up all of our own poses, for the most part, to fit the surroundings and angle of the light. 3) We used our golden reflector to provide a warm and natural looking light onto the subject. The light reflecting off of the subject gave a golden glow to our model. 4) To retouch our photographs, I just followed the steps provided to Mrs. Moncures photo touch-up tutorial. First I blended most of the blemishes in the subjects face. Then I sharpened the image to give it a realistic and not blurry look. 5) Positions such as wedding photography, model photography, and journalism photography, use portraiture to capture the emotions and feeling of the subject that they are taking a photo of. Mainly private parties hire wedding photographers, but journalism photography can come from anyone. It does not matter if they have a career in photography or not.  Connar Kellogg, Class of 2018 Most individuals would agree that the satisfaction of achievement comes from the achievement itself. With this statement, I would personally have to disagree. Not because satisfaction isn't the result of an achievement, but because satisfaction comes from the personal motivation and effort that is exerted to make an achievement become a reality. This photograph expresses the happiness and satisfaction that can be found in students while striving to achieve a certain goal. Whether that goal is to study for a heavily weighted assessment or to complete a test that pushes your personal limitations, it is important to remember a few points of interest. Through my experiences as a student and as an everyday citizen, I have found that longer you stay motivated and the harder you work to strive towards your goal, the greater the satisfaction will be once your achievement is reached.
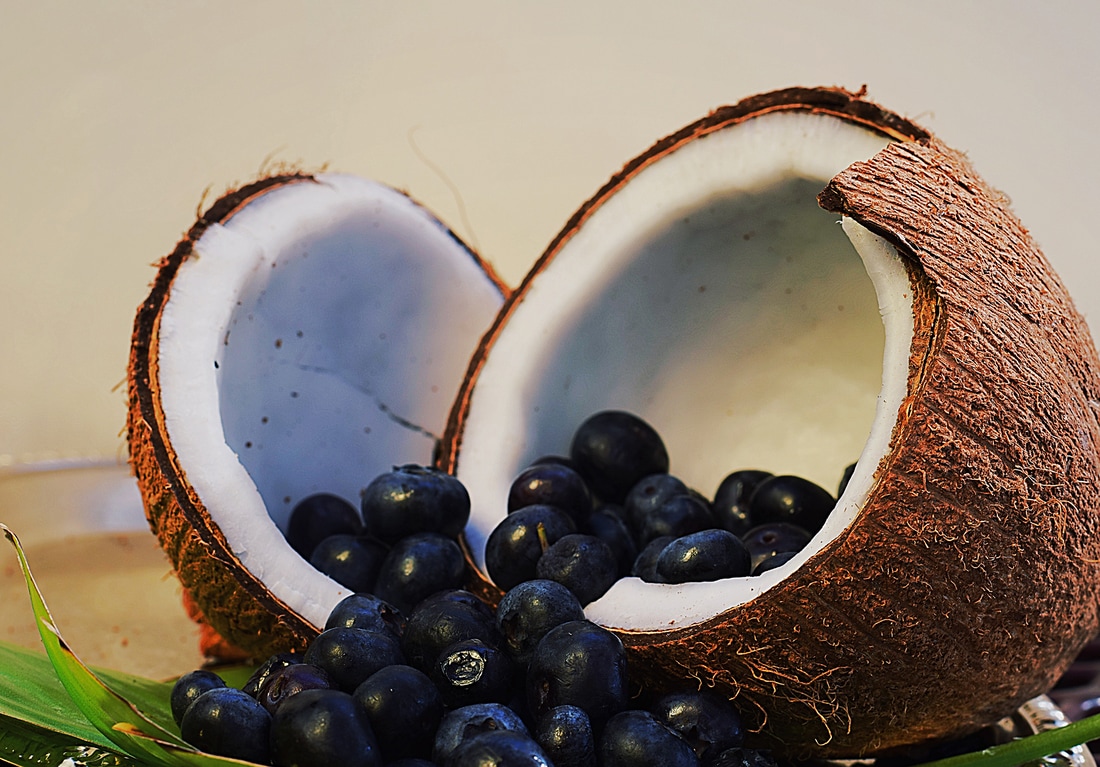 'Spilled my Berries', Aperture f/8, ISO 200, Shutter Speed 1/125 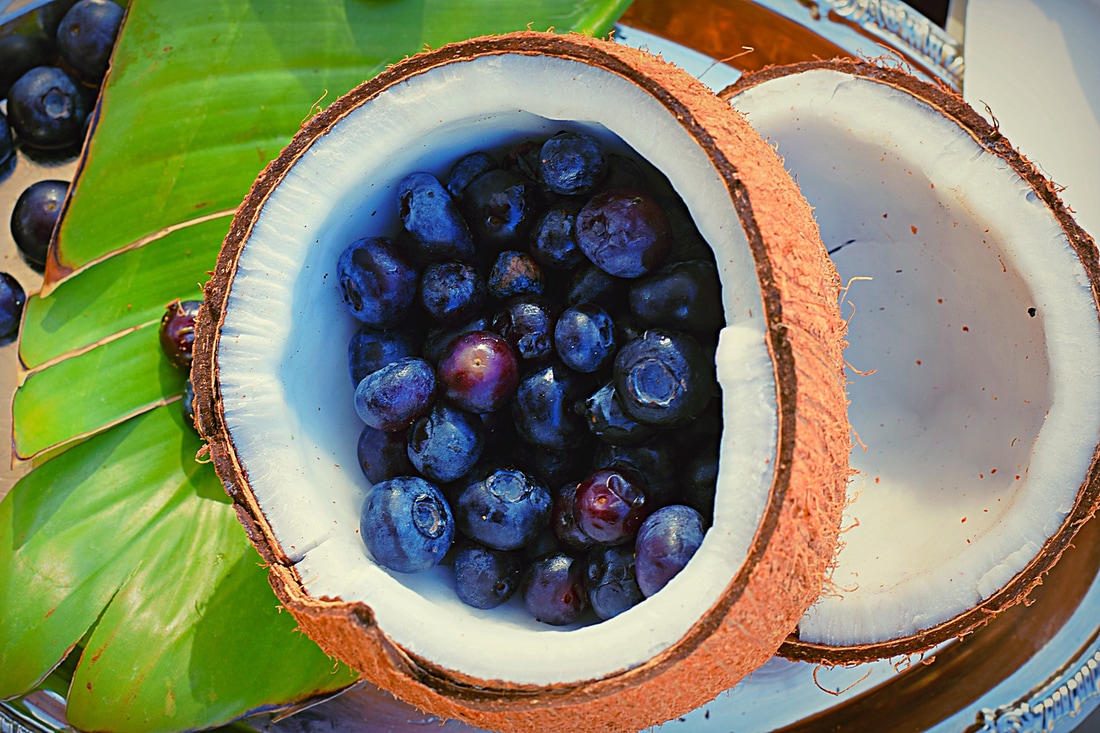 'Tropical Bliss', Aperture f/8, ISO 200, Shutter Speed 1/60 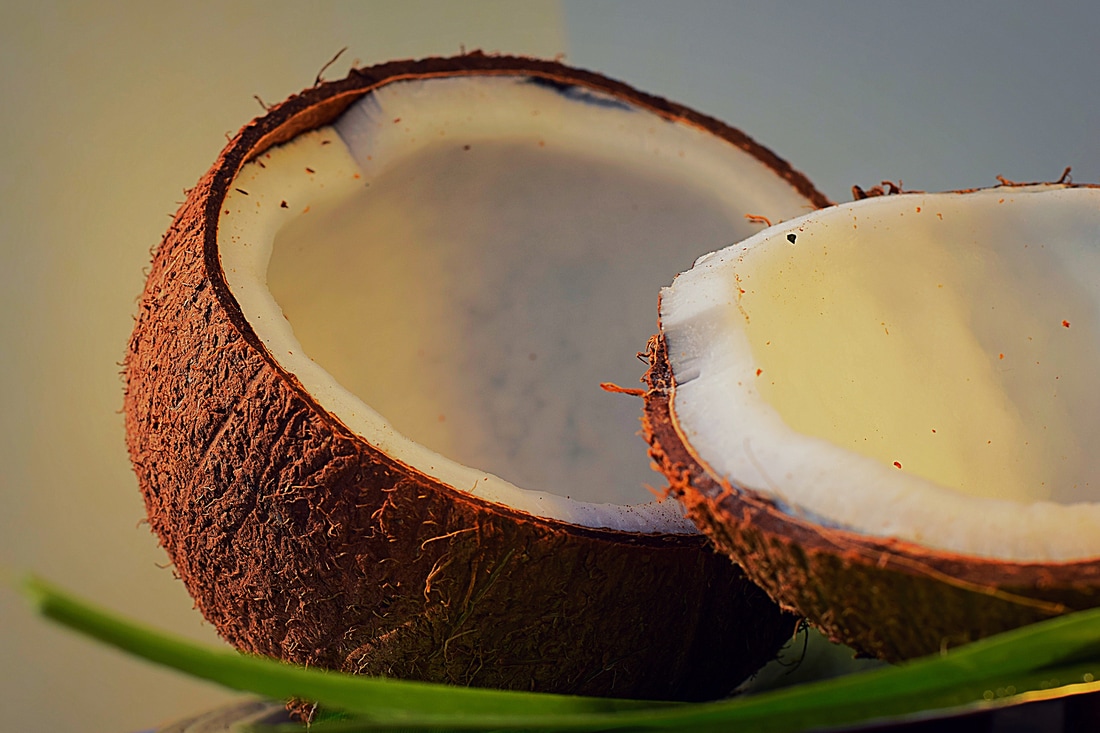 'Simplicity is mouth Watering', Aperture f/8, ISO 200, Shutter Speed 1/225  'Raise the Roof', Aperture f/8, ISO 200, Shutter Speed 1/350 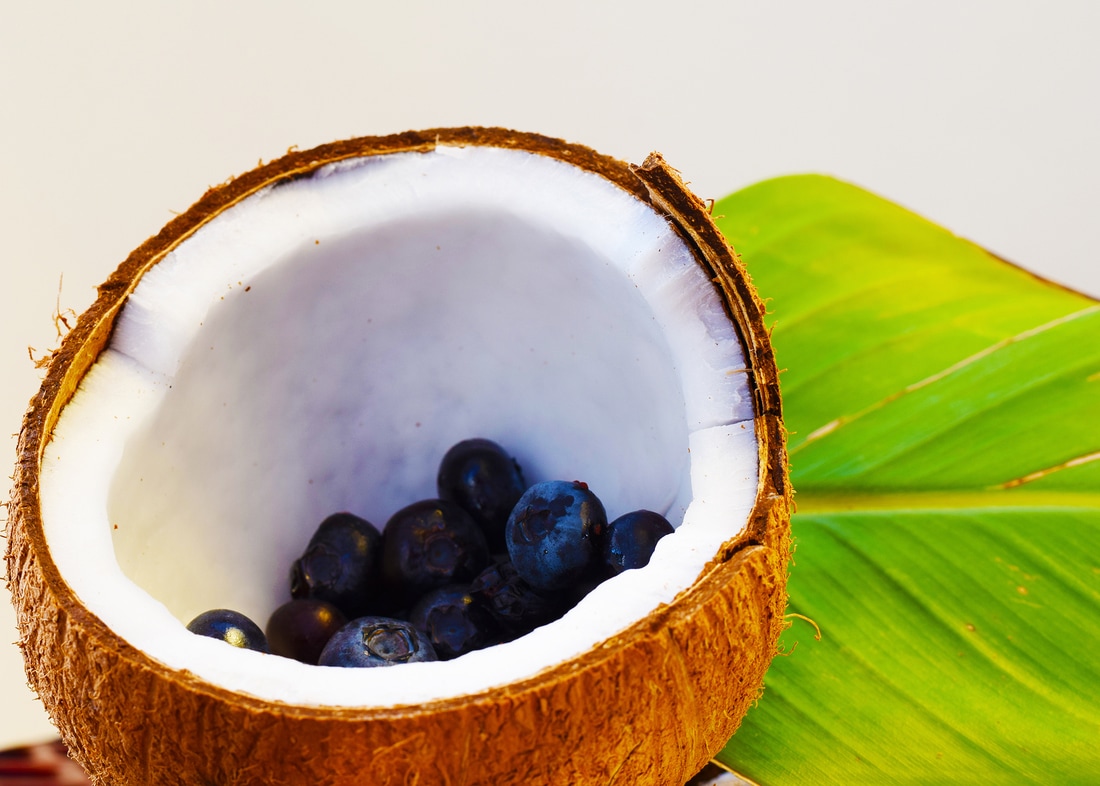 'Pure Flavor', Aperture f/8, ISO 200, Shutter Speed 1/90 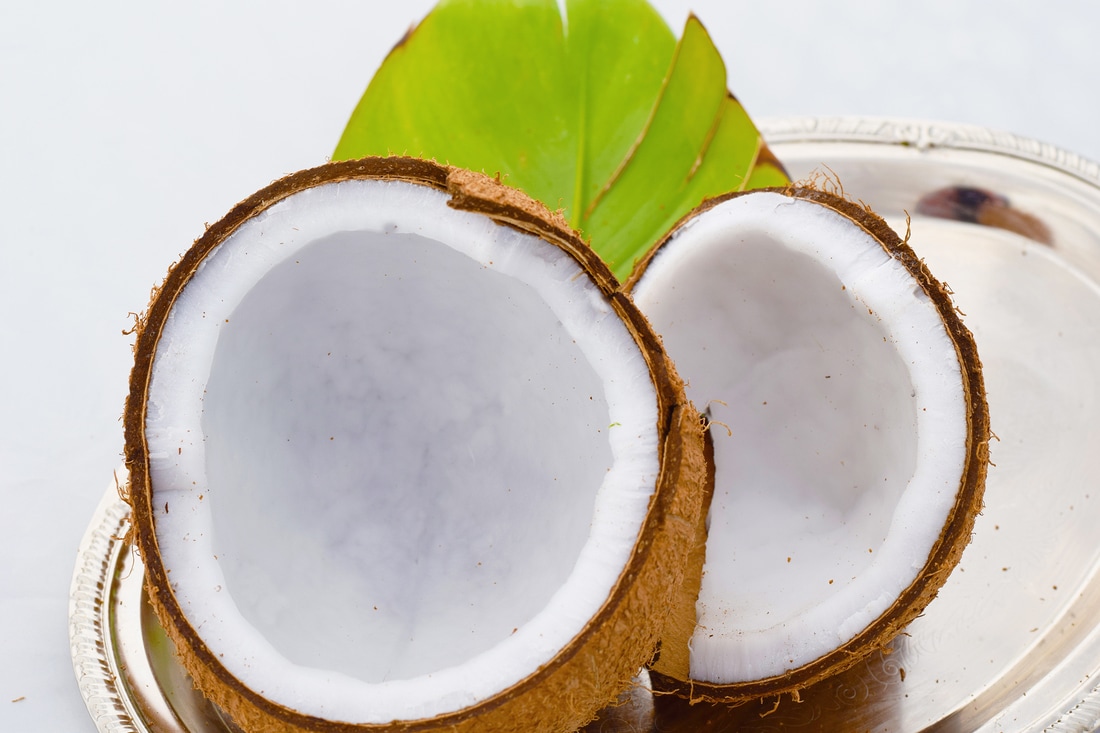 'Paradise', Aperture f/8, ISO 200, Shutter Speed 1/500 1. For this project I used a coconut as my main subject. For props I used a vibrant palm leaf to add a tropical feel along with a silver platter to add class.
2. - The first thing I learned was that food photography is planned and it takes a lot more time to set up than I expected. - Another thing I learned was that the placement of props is very important in the development of a good photo. - The use of aperture settings are important to achieve the perfect focus. - Lighting can be adjusted with certain absorbing or reflecting tools and equipment along with adding artificial lighting - Food photography is used all over the world to advertise restaurants and to make food look as good as it can with the help of designers 3. To make my photos look like a famous image on the internet I was able to use a vibrant green palm leaf and a light room to achieve simplicity and a good replication. 4. - While shooting food photography I learned that background setting and props create a major part of the image. Not just the subject. - Reflectors and light filters can be used in many different situations depending on the lighting, color of the subject, and position of the light source. - I found that a low aperture setting and a shallow depth of field makes food look the best. (depending on the situation) 5. 99% of all restaurants and food businesses use food photography to advertise their food.They do this to show their customers how delicious their food is. 6. In this project I believe that I did the best that I could, given the materials that I was using for a subject. If I could do one thing differently in this project I would bring in a better food to use as a subject and also use more props to add to the feeling of the photo. 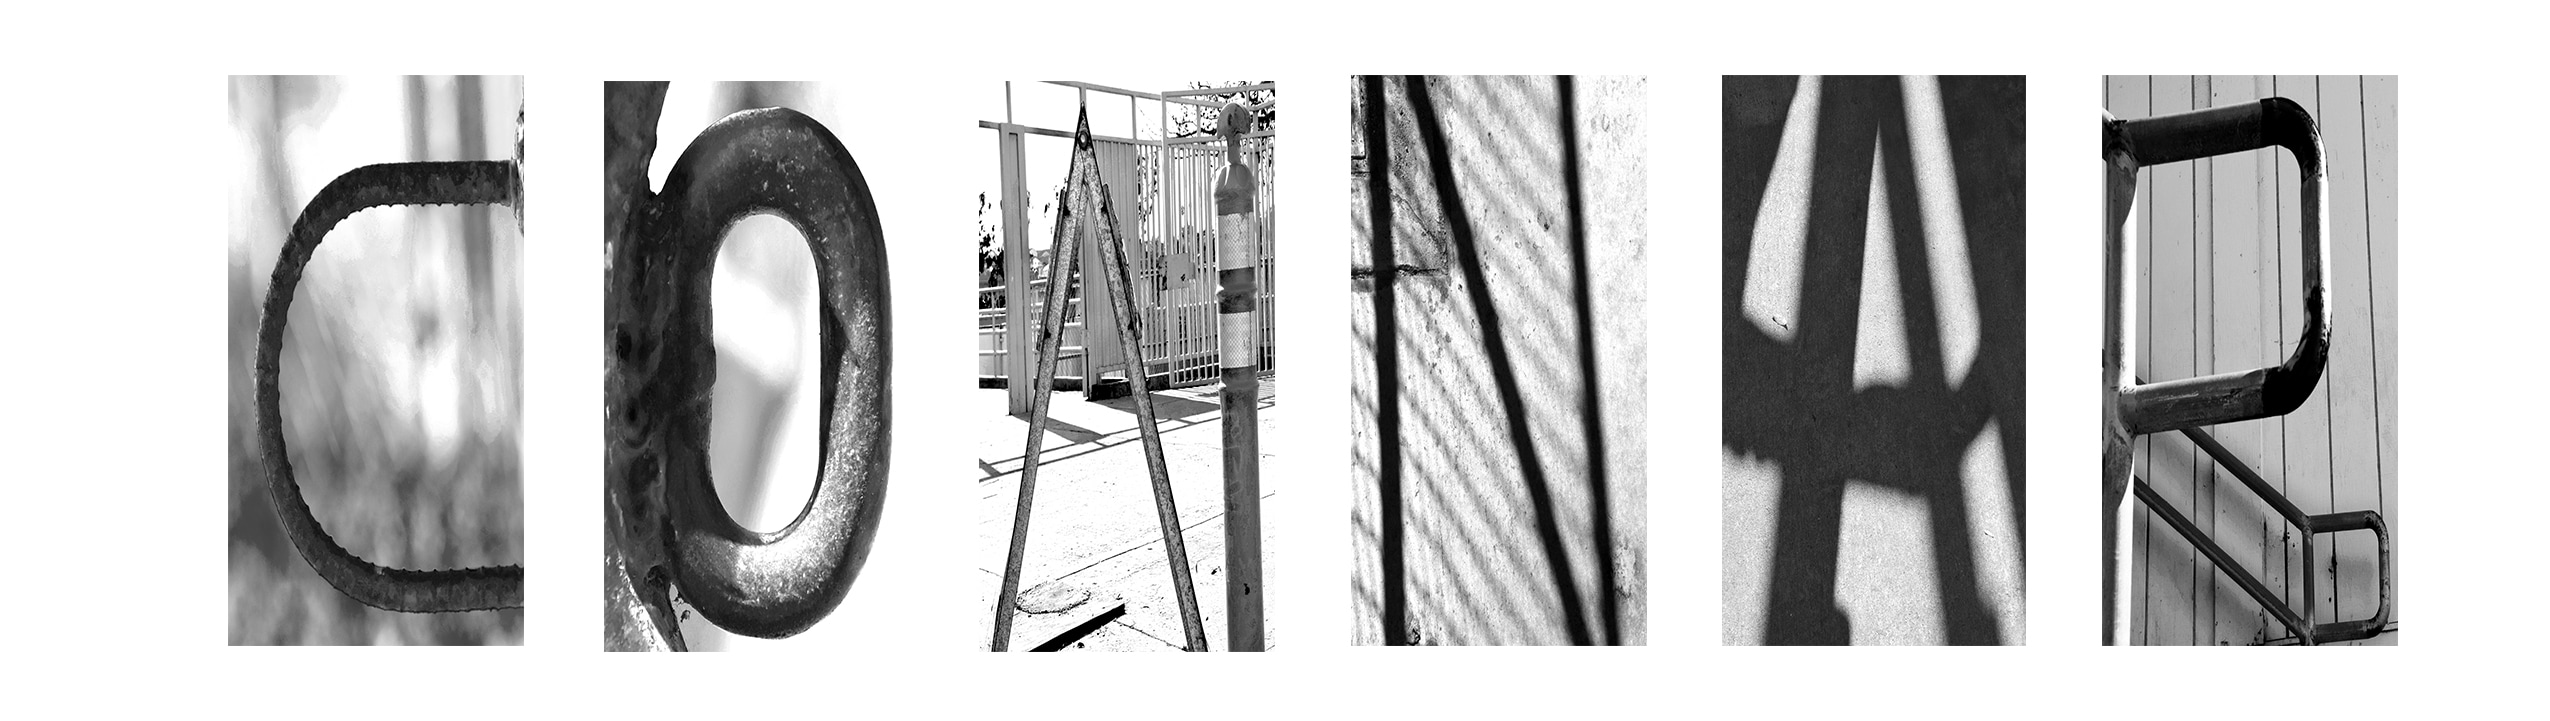 1) During this project I worked the hardest on finding the letters that I needed to spell my name. Creativity was a key factor in finding what I needed
2) Overall, I am the most proud about the outcome of this project because I used a combination of creativity, curiosity, and editing to create the final product. 3) After completing this project, I learned that I still need to help understanding most of the photoshop controls better to make the images look better. 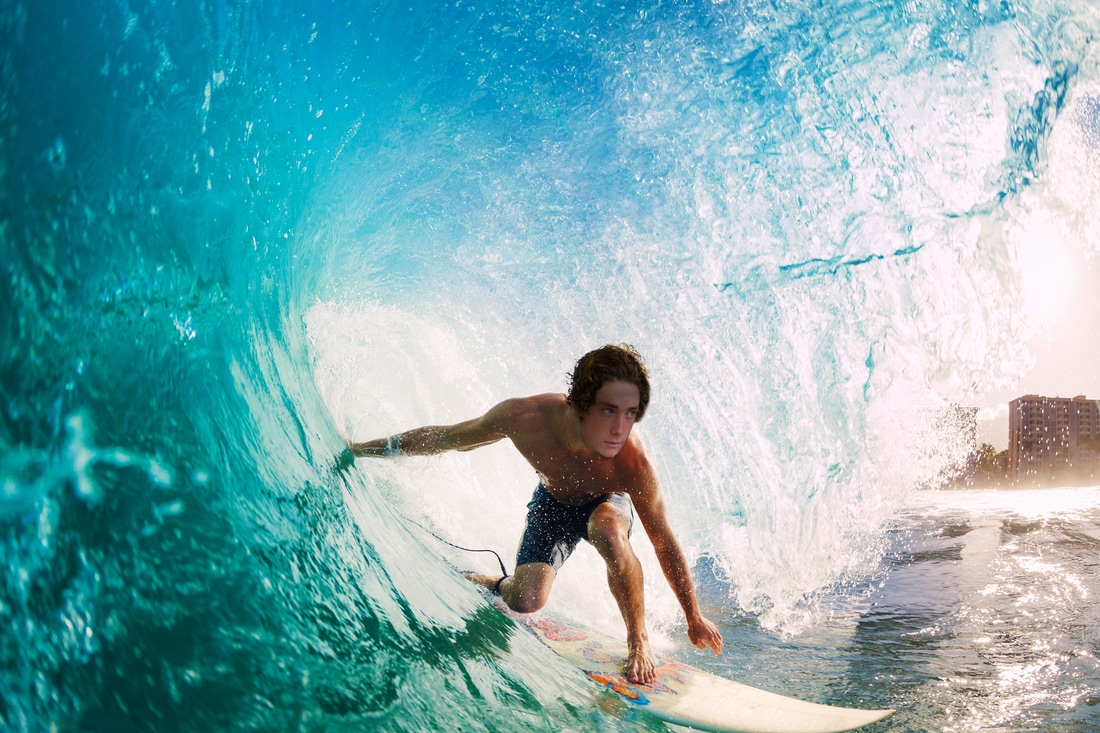 If I could choose any career to pursue, I would choose to become a professional surfer. I chose this career because the life of a pro surfer consists of dream-like vacations to remote parts of the world. Also a professional surfer does not have any guidelines to meet for a job. They wake up and do whatever they feel like doing while getting paid for it. That is the definition of "living the dream" for me.  I chose to create my layer mask over a world renowned band from Sydney, Australia named the "Sticky Fingers". I chose this group for this project because it would be amazing to actually meet them in person. This band became famous in 2008 because of their mellow Reggae Fusion/ Indie Rock style music. How to Create a Layer Mask; Step by Step1) Begin this project by selecting the "Layer Mask" icon at the bottom of the page.
2) Download your background photo along with a portrait photo and open both in Adobe Photoshop. (make sure to keep 2 different layers between your background and mask) 3)Then change both of your pictures to a resolution of 300 by selecting image > image size. (both should be the same size) 4) Use the "Lasso Tool" to crop your portrait layer. Then use the "Move Tool" to move the new mask onto your background layer. 5) Lower the opacity of your Layer Mask so you can line up the mask with the original subjects features. 6) Make sure that your mask is the right size, shape, and position to make the mask as real as possible. 7) Finally, merge the visible layers and save the project as a jpeg. Or as a photoshop file if you choose to edit again. Presentation on Clark Little https://docs.google.com/presentation/d/1opNI7XviT_yt_aOnVCXyf8mdrIrmlXSiwOJt64bDMHs/edit?usp=sharing My photos in the stlye of Clark Little's photos 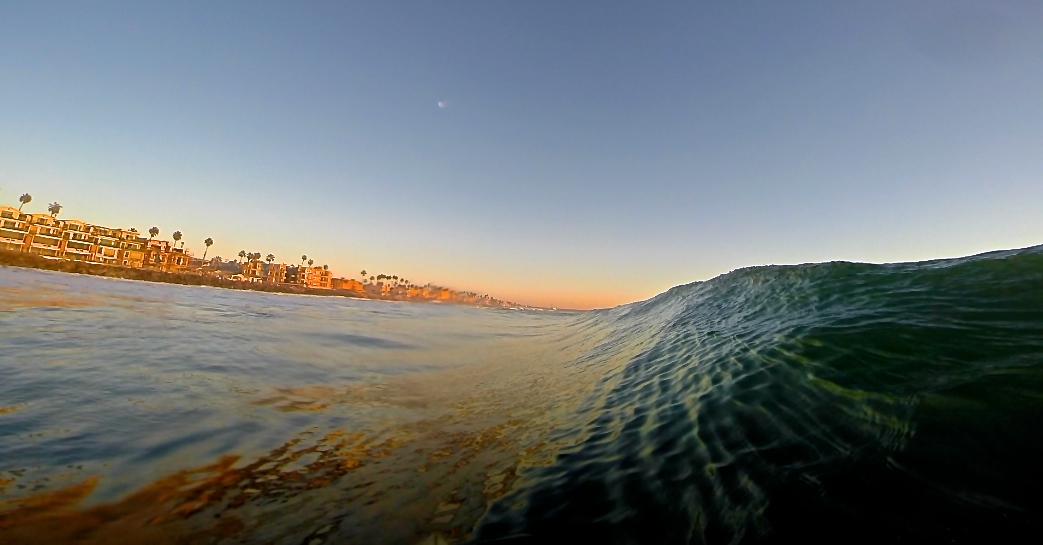 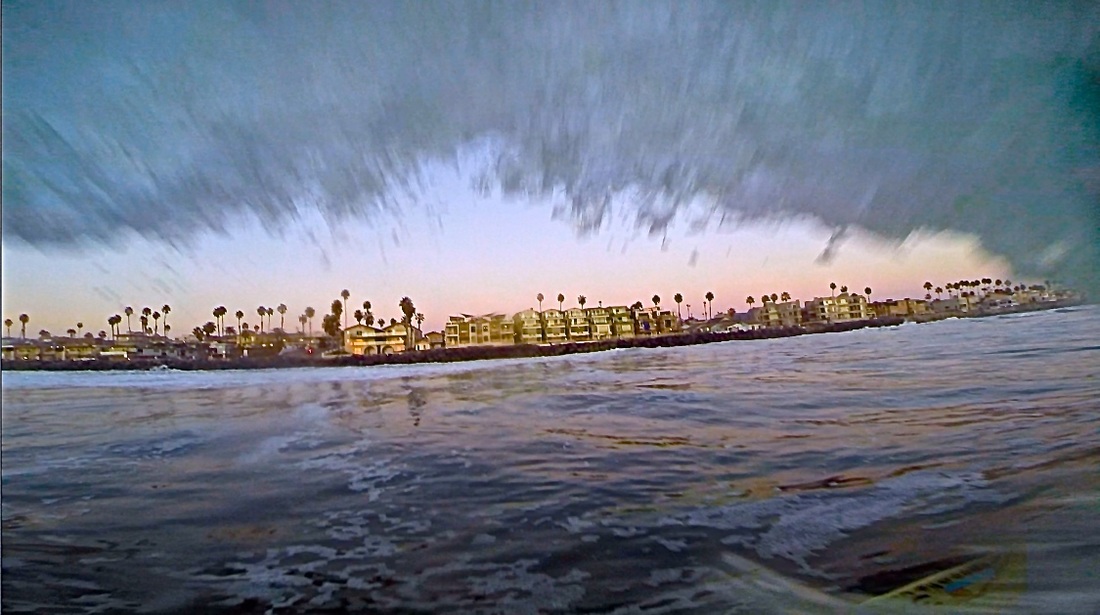 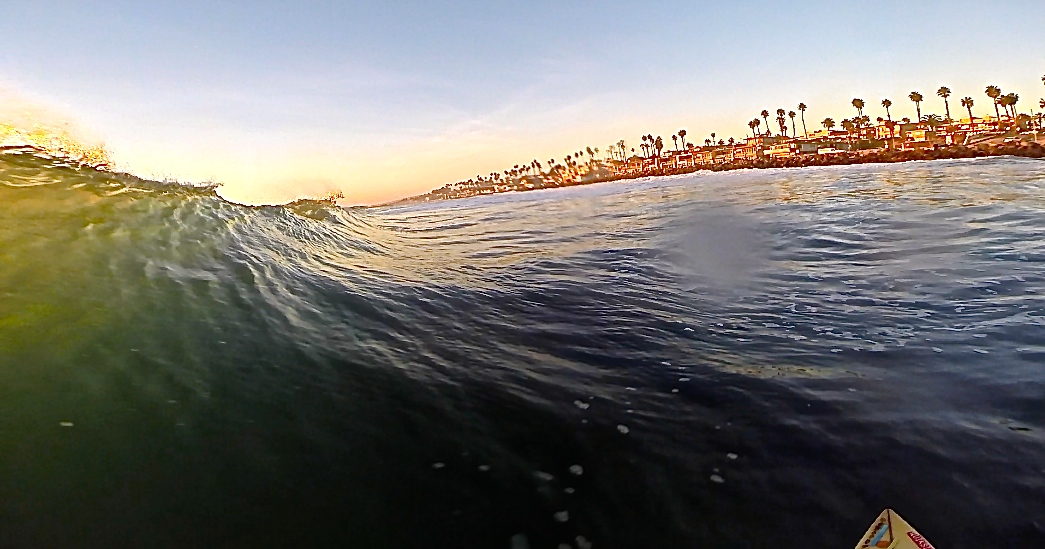 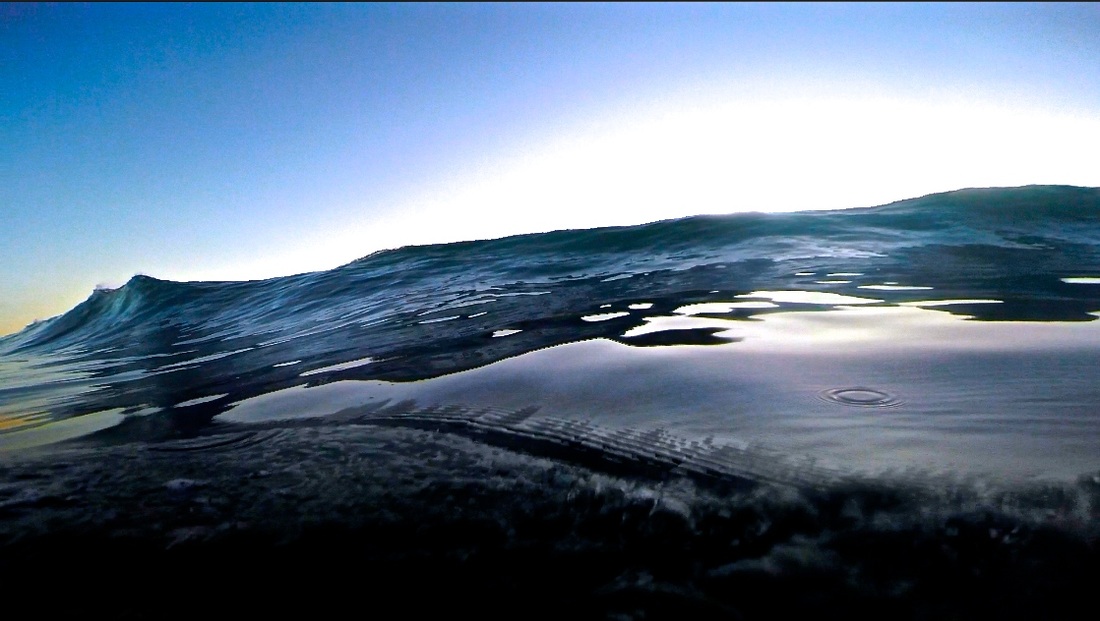 Leading Line |


 |  |
| Aperture: f/22, Shutter Speed: 1/20, ISO: 200 | Aperture: f/22, Shutter Speed: 1/20, ISO: 200 |
Framing:
 Aperture: f/22, Shutter Speed: 1/20, ISO: 200 | 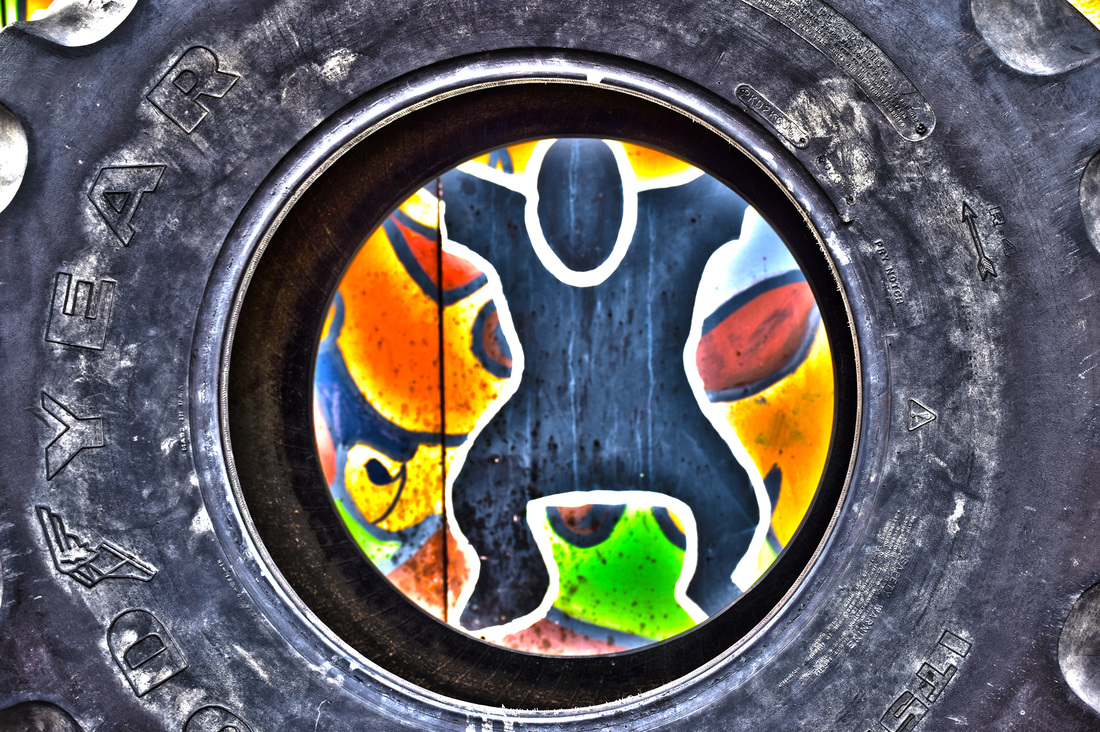 Aperture: f/22, Shutter Speed: 1/20, ISO: 200 |
Rule of Third:
 Aperture: f/22, Shutter Speed: 1/20, ISO: 200 | 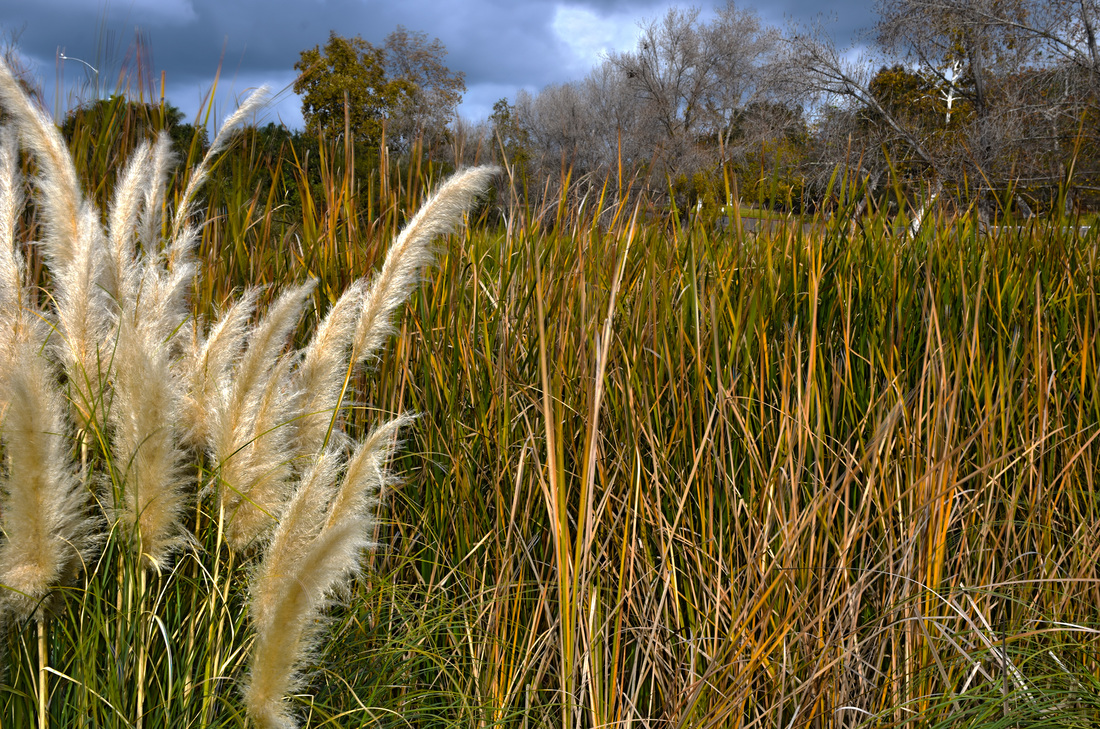 Aperture: f/22, Shutter Speed: 1/20, ISO: 200 |
Balance:
 Aperture: f/22, Shutter Speed: 1/20, ISO: 200 | 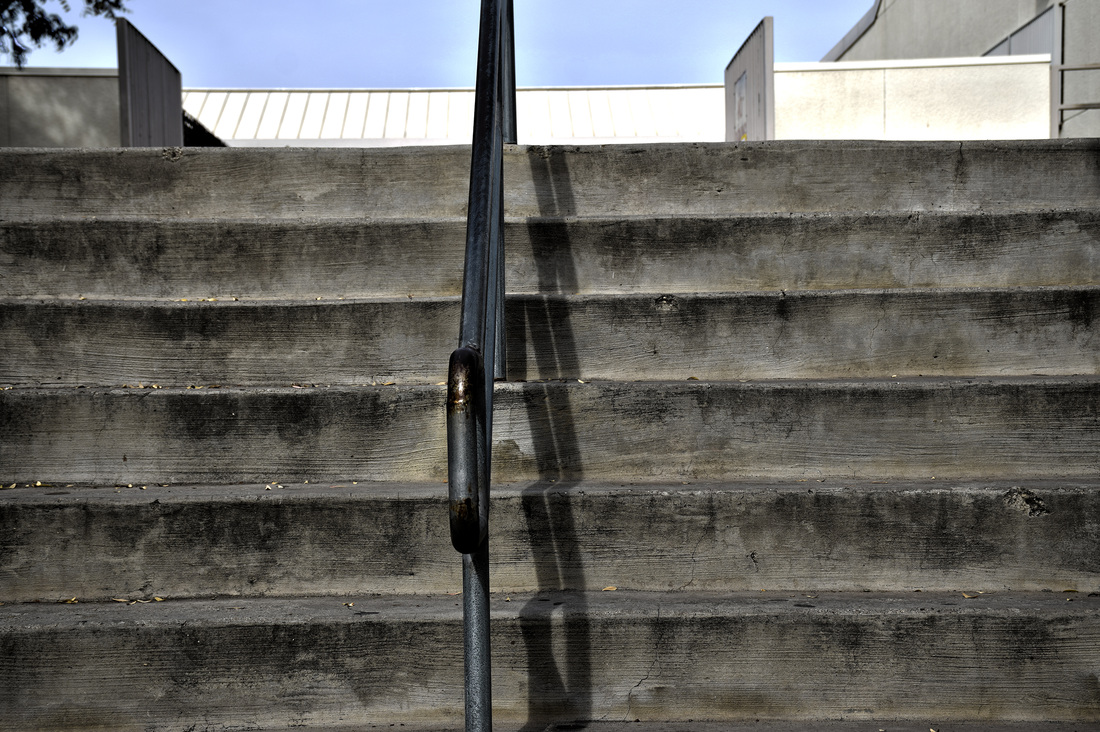 Aperture: f/22, Shutter Speed: 1/20, ISO: 200 |
Crop:
 Aperture: f/22, Shutter Speed: 1/20, ISO: 200 |  Aperture: f/22, Shutter Speed: 1/20, ISO: 200 |
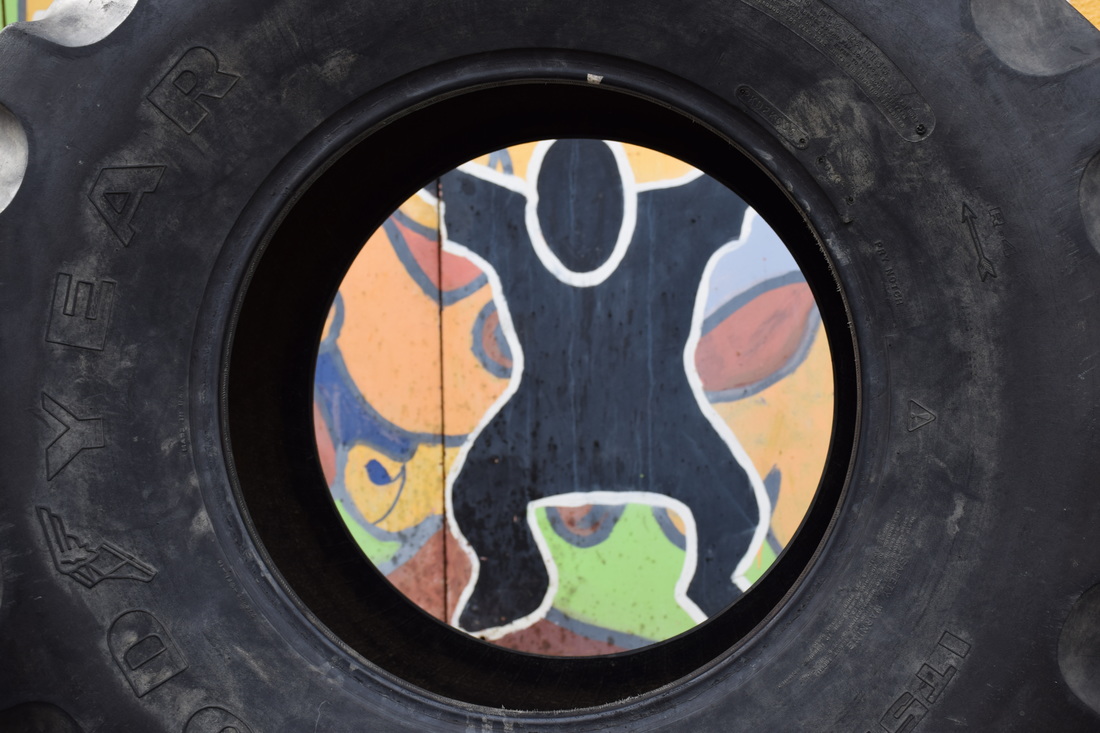
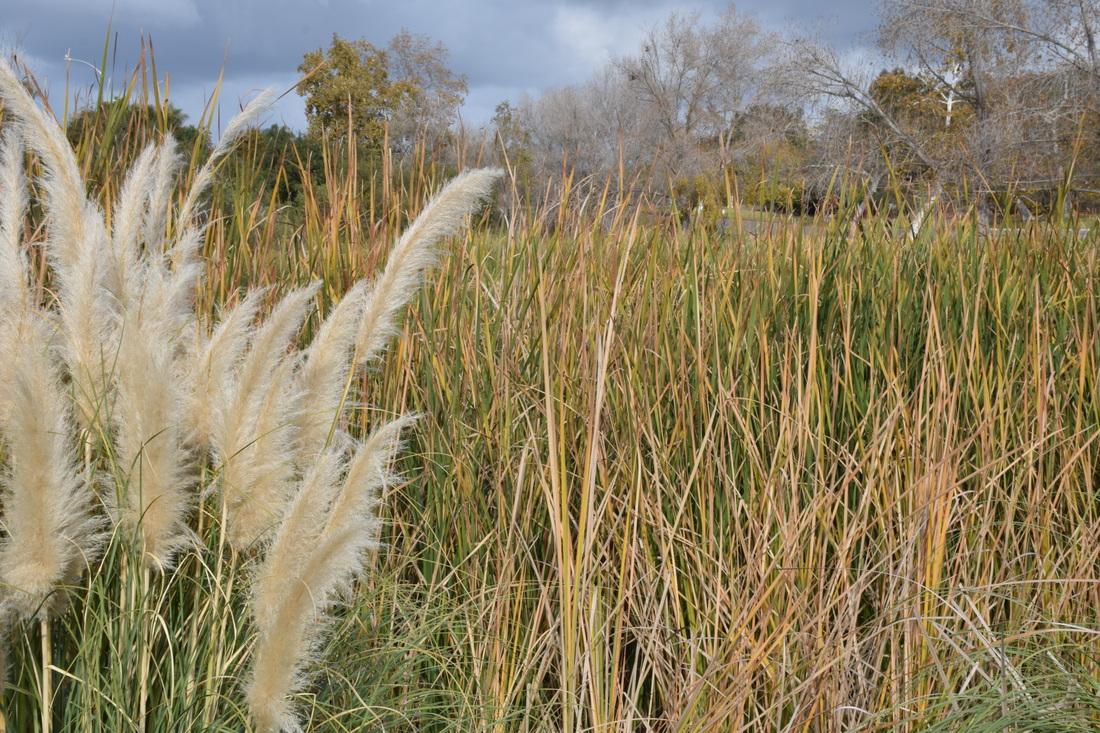
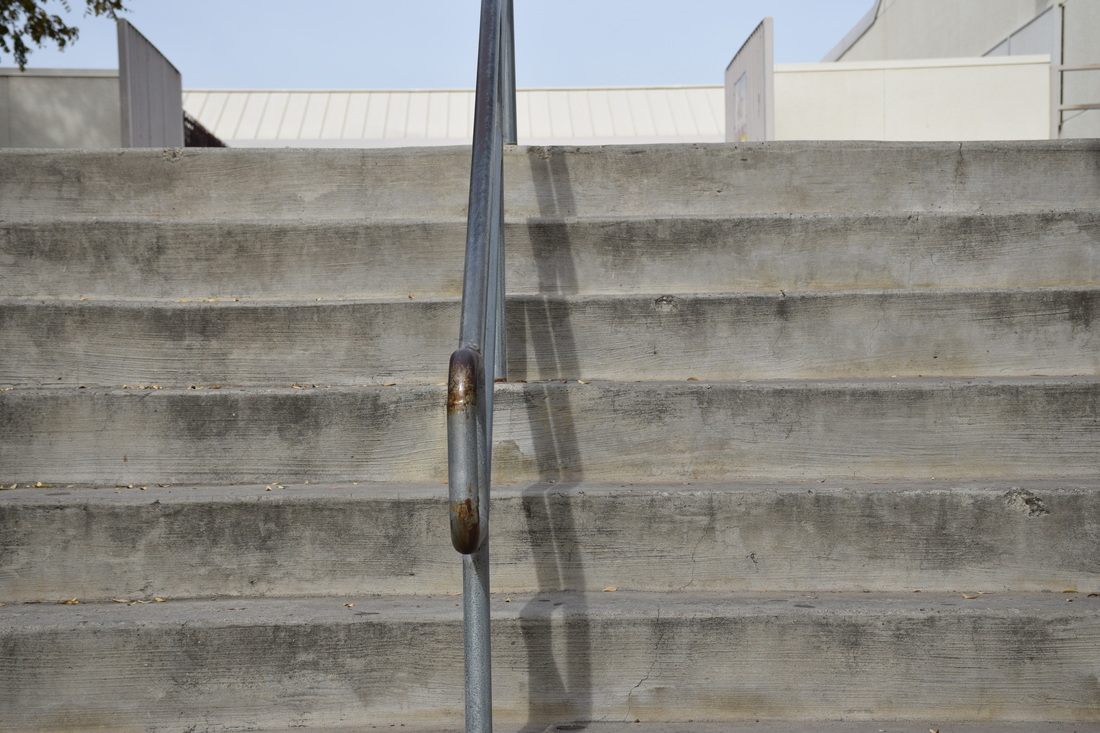
HDR (High Dynamic Range) photos are a combination of many pictures taken at different exposure settings from a tripod. The tripod is used to create a stable surface for the camera to rest on while taking multiple photos of a stationary object. Once a series of pictures are taken, Photoshop is used to combine all of the images to make a high definition verion of the image.
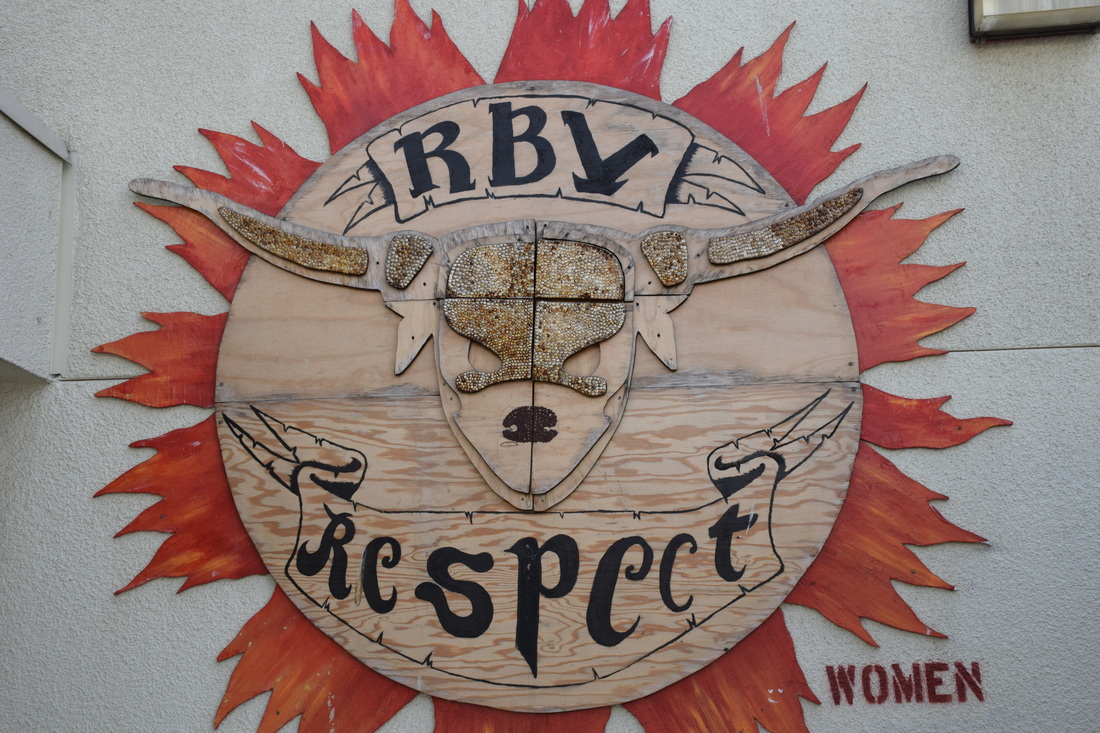 ISO 400, Aperture f/9, Shutter speed 1/1600 Balance: I used this photo of the RBV Respect sign to represent balance because it creates a sense of symmetry. This photo is successful because it clearly creates balance and symmetry and that appeals to the viewer. 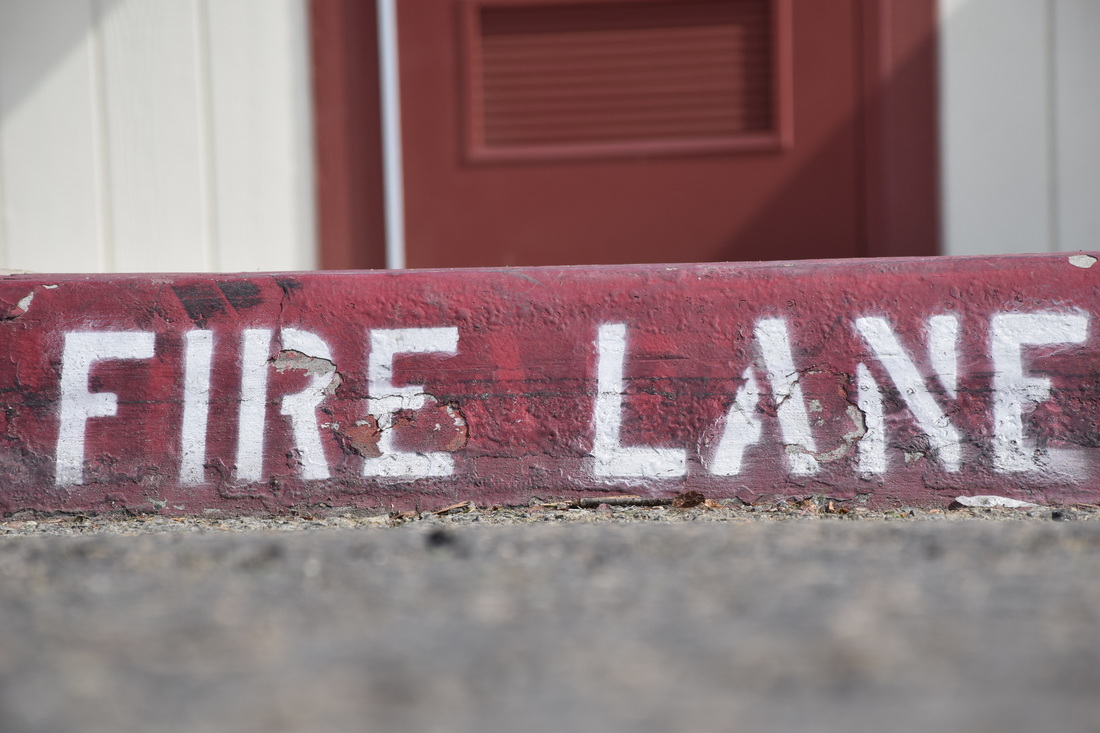 ISO 400, Aperture f/9, Shutter speed 1/1600 Emphasis: I used this photo of white letters against a red background to represent emphasis because the white color against a red foreground stands out and emphasizes the subject. This photo is successful at representing emphasis because the bright white letters are emphasizing the importance of a Fire Lane. 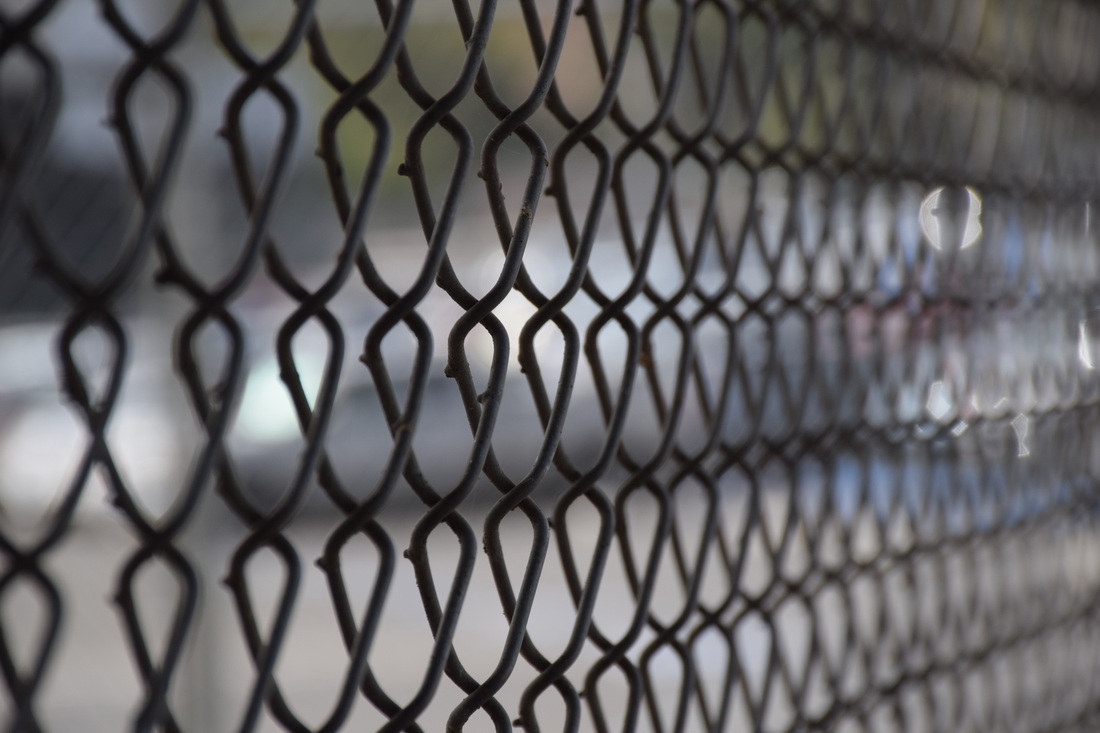 | 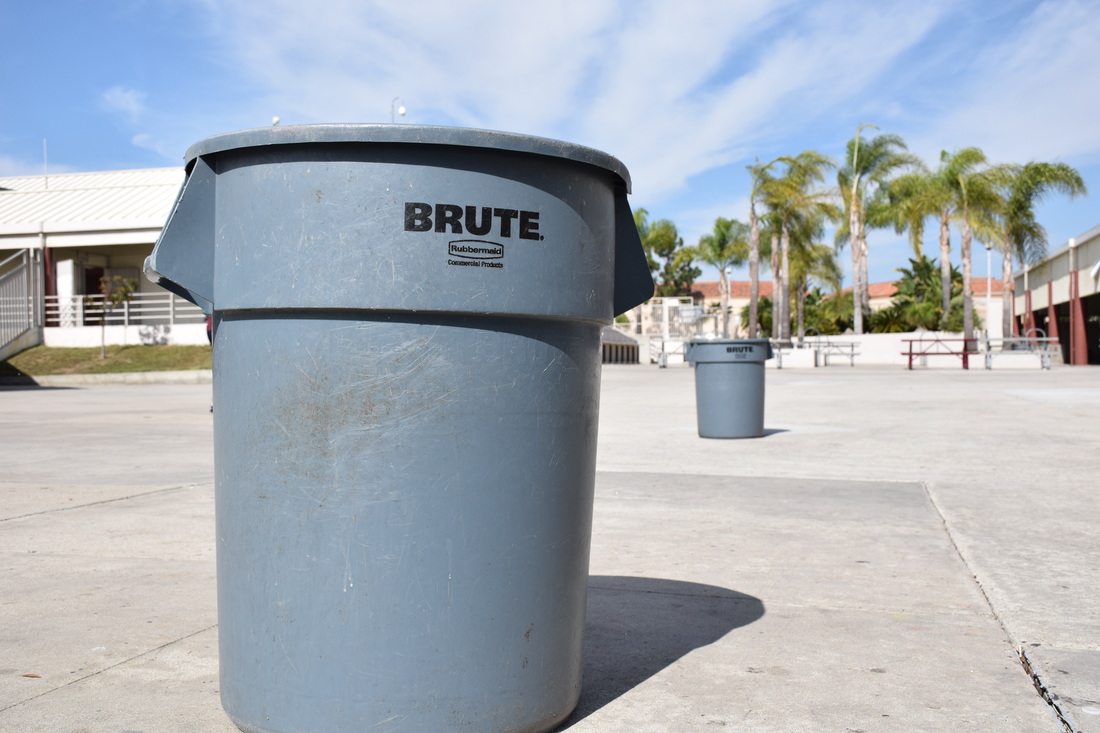 ISO 400, Aperture f/9, Shutter speed 1/1600 Proportion: I used this photo of two trashcans to represent proportion because it shows a drastic size difference in the trashcans. This photo is successful at representing proportion because the two subjects are identical but the distance between them creates an illusion of one being bigger than the other. 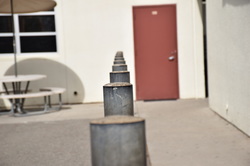 ISO 400, Aperture f/9, Shutter speed 1/1600 Rhythm: I used this photo of poles in a straight line to represent rhythm because separate subject repetition makes the image appealing to viewers. The photo is successful at representing rhythm because each pole is like a music note and all of them together create a rhythm.  |
| ISO 400, Aperture f/9, Shutter speed 1/1600 Harmony: I used this photo of the links in a chain fence to represent harmony because it seems like all of the links are working together to hold strong. This image is successful at showing harmony because the links of the fence are working together while the background is blurred out. | ISO 400, Aperture f/9, Shutter speed 1/1600 Variety: I used this photo of shoes stuck in a tree to represent variety because it shows various objects in an unnatural area. This image is successful in showing variety because many different colors and objects compliment each other in various ways. |
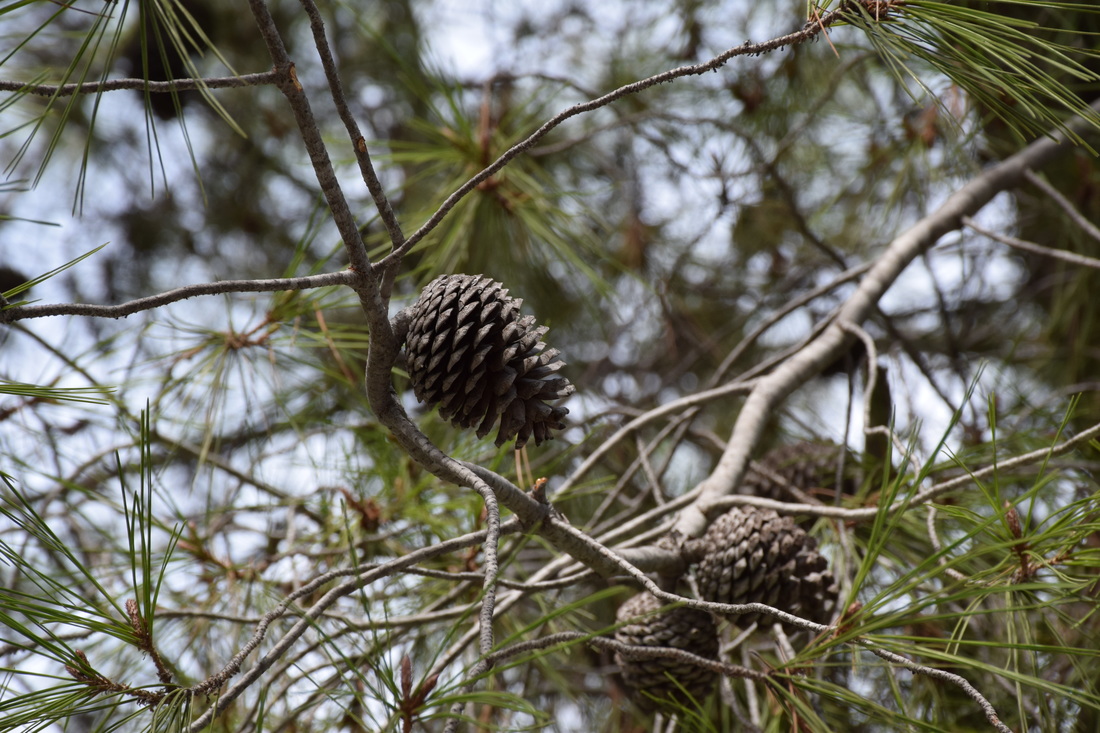
ISO 400, Aperture f/9, Shutter speed 1/1600
Unity: I used this photo of pinecones in a tree to represent unity because the two objects work together and stay together as a unified pair. A pinecone in a tree is successful in being seen as unity because the two subjects are meant to be together and people associate pinecones and trees with each other as a unified pair.
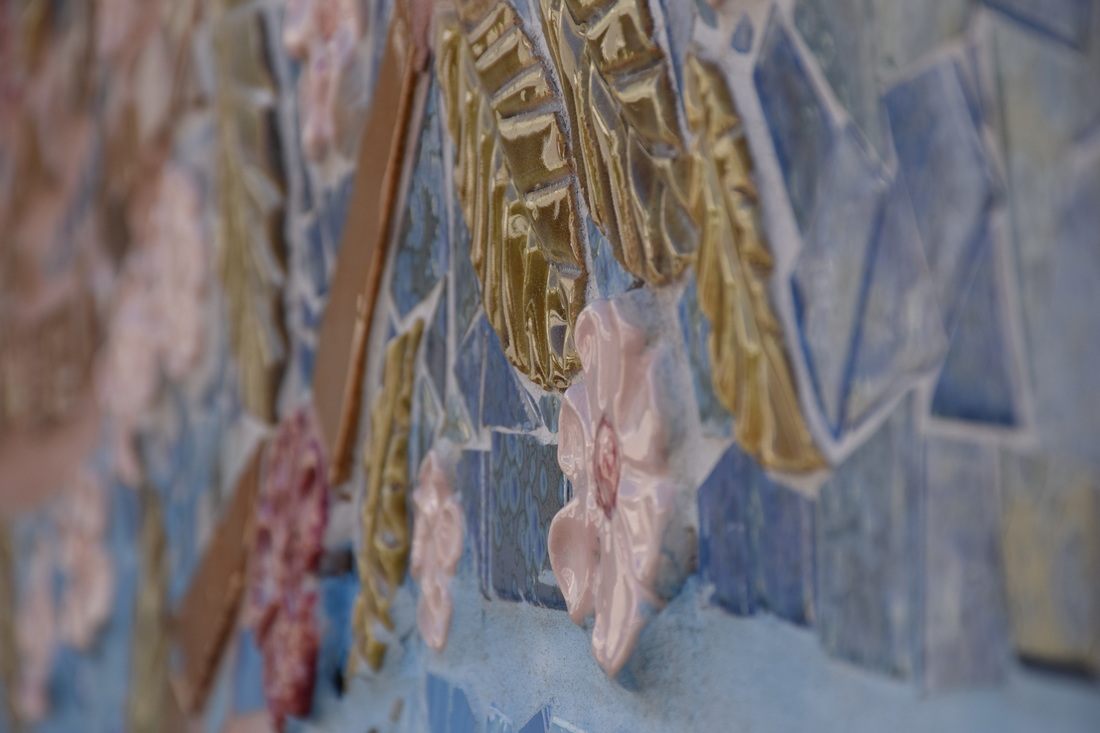 Aperture f/8 , ISO 400, Shutter speed 1/400 texture: A photo of a mural at RBV. This photo displays texture because the surface of the subject seems to have a certain feeling. This photo is successful because the viewer can see the obvious texture of the art piece. 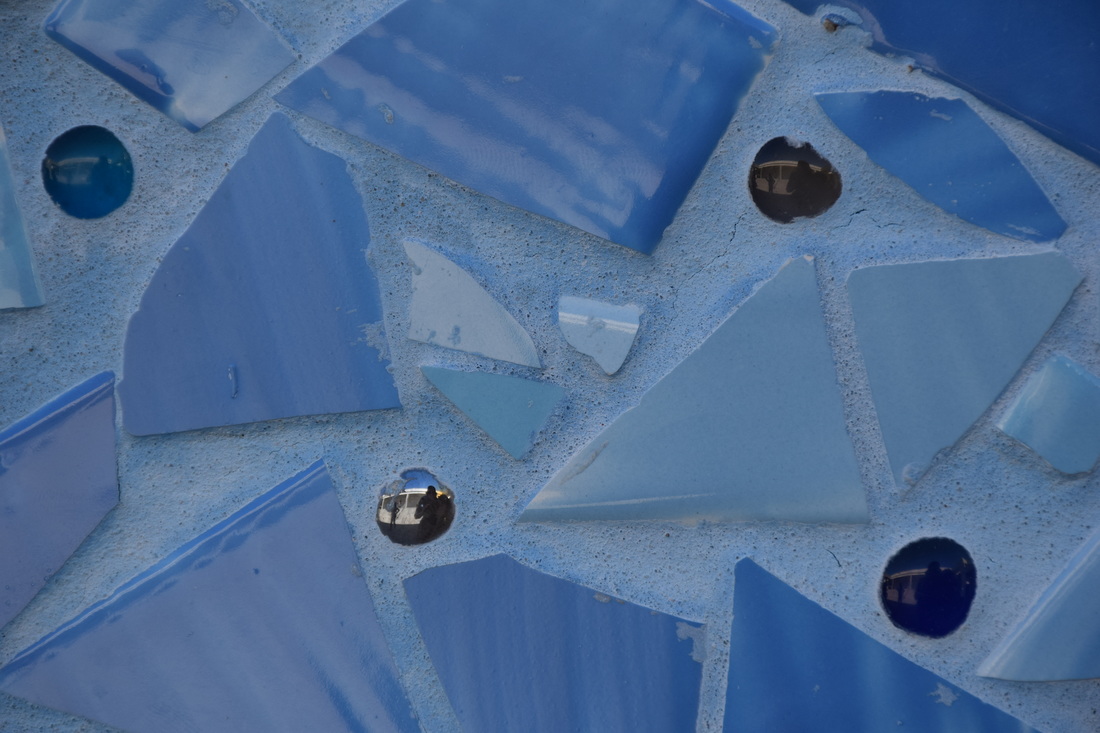 Aperture f/8 , ISO 400, Shutter speed 1/400 Value: This RBV mural is a great subject to express value. Value in this picture is shown by the same color but different shade of tiles. This photo is successful because it expresses the different values that were used by the artist to make this piece. 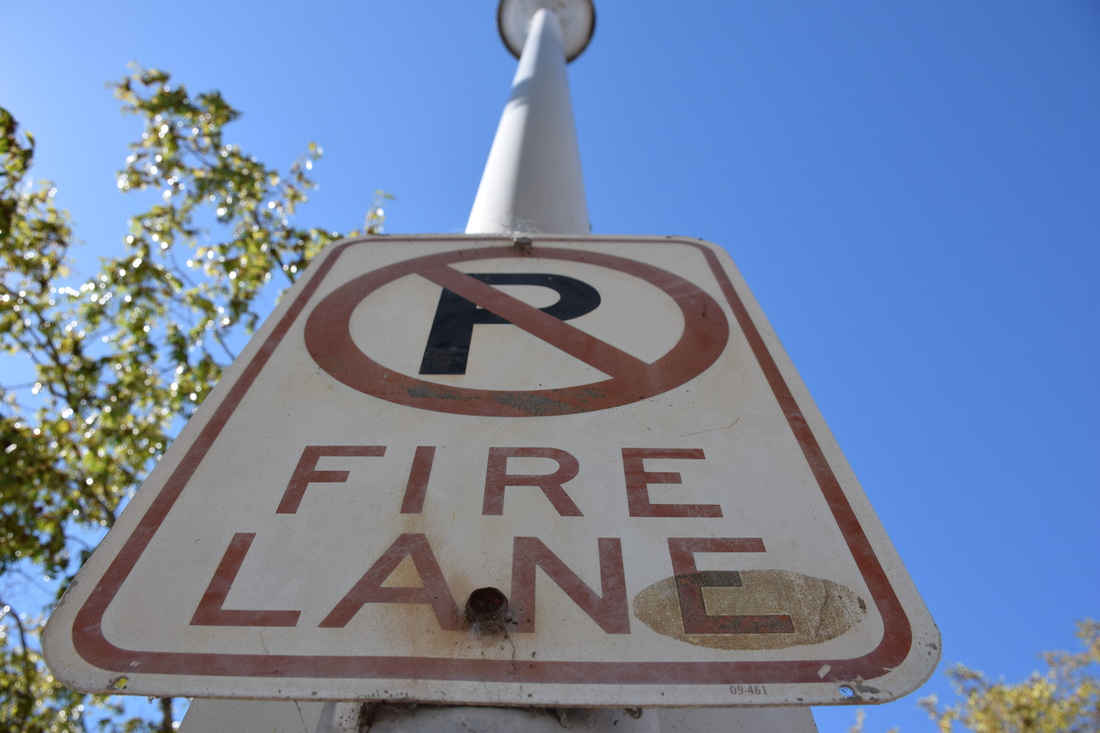 Aperture f/8 , ISO 400, Shutter speed 1/400 shape: The shape of the sign is represented as a white rectangle. This sign shows shape because it is 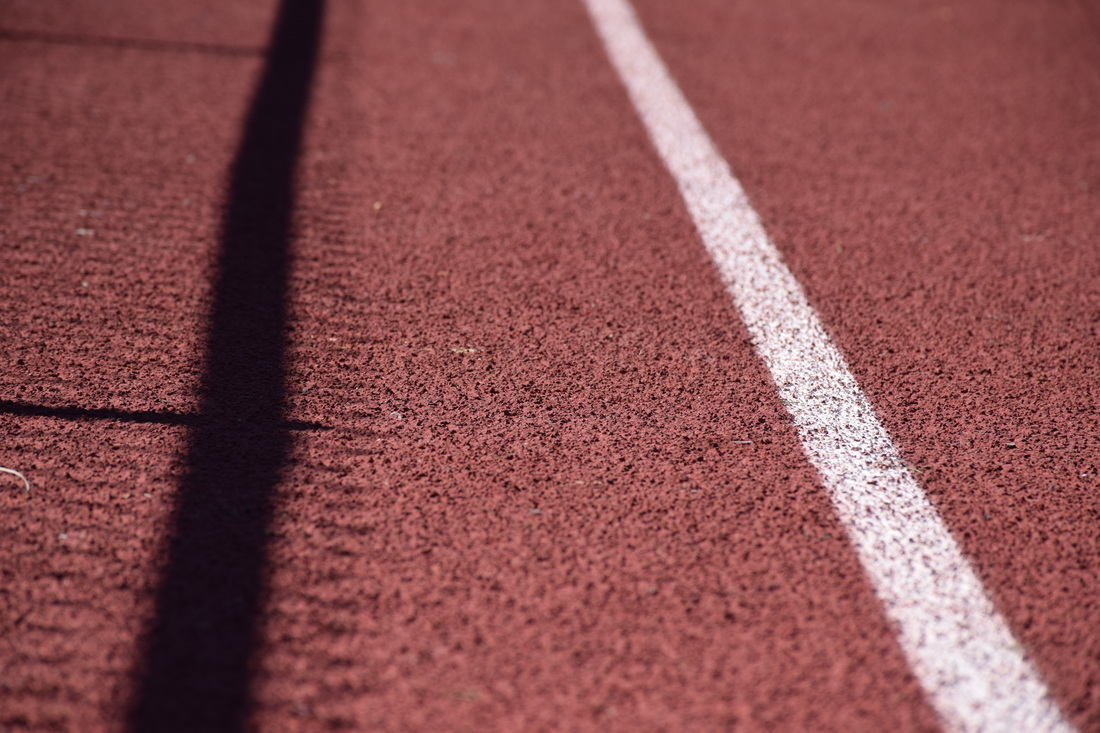 Aperture f/8 , ISO 400, Shutter speed 1/400 line |  Aperture f/8 , ISO 400, Shutter speed 1/400 space: A photo taken through the hole of a traffic cone of a student. This photo displays space because it represents positive and negative space. The photo is successful because the negative space is the orange and out of focus cone while the positive space is the subject. 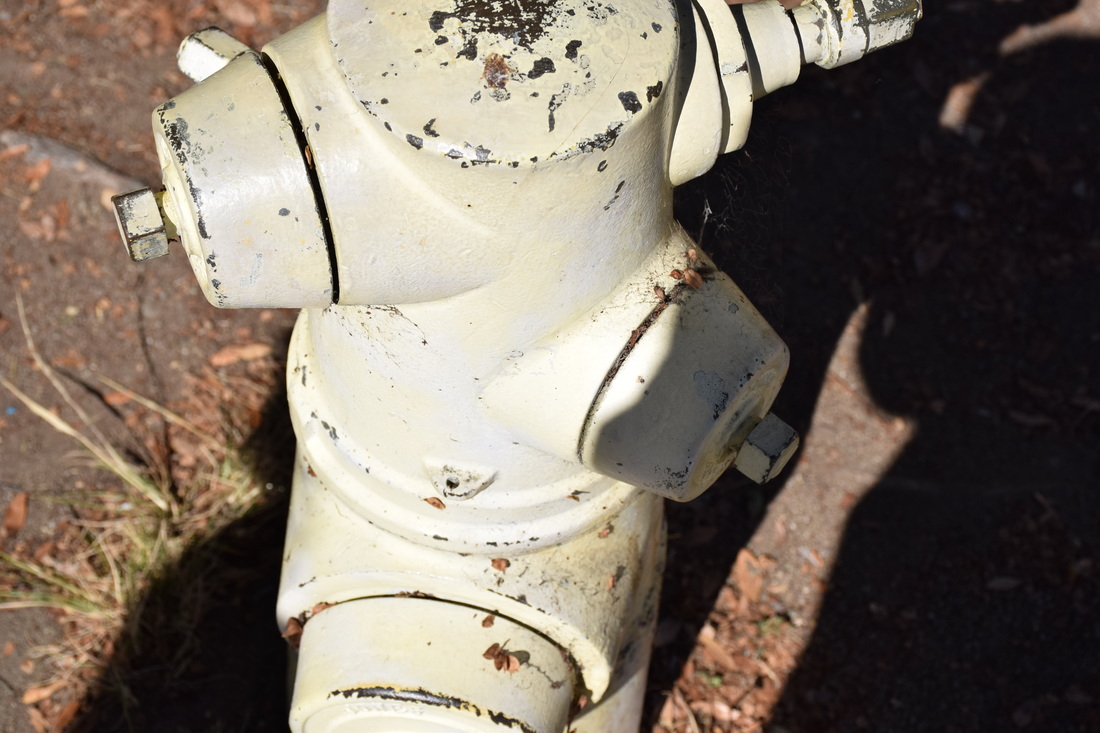 Aperture f/8 , ISO 400, Shutter speed 1/400 form: this picture of a fire hydrant was used to represent form. Form is a 3-D object that could be felt or touched. This photo is successful because it captures the 3 dimensional fire hydrant.  Aperture f/8 , ISO 400, Shutter speed 1/400 color |
|
Connar KelloggPhotography is a great way to express yourself and allow the viewers to see what you saw. I love taking photos of the things I am lucky enough to experience and my goal is to bring the viewer certain emotions while they are looking at my photos |
Archives
June 2017
May 2017
April 2017
March 2017
February 2017
January 2017
November 2016
October 2016
September 2016
 RSS Feed
