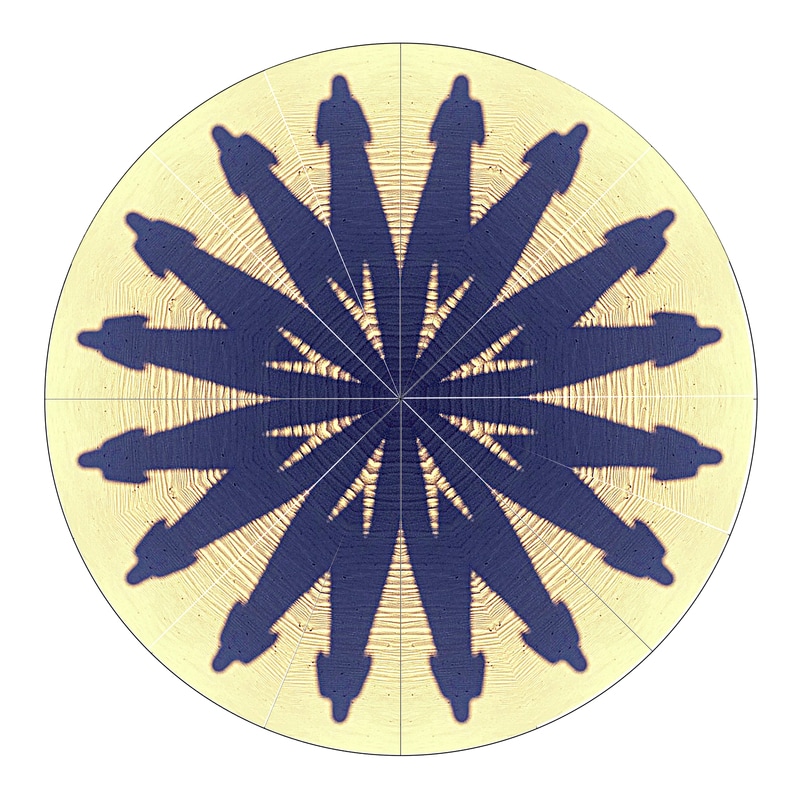
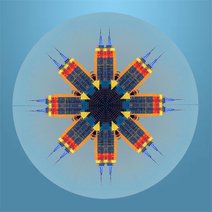
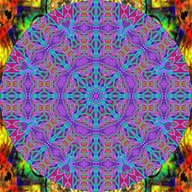
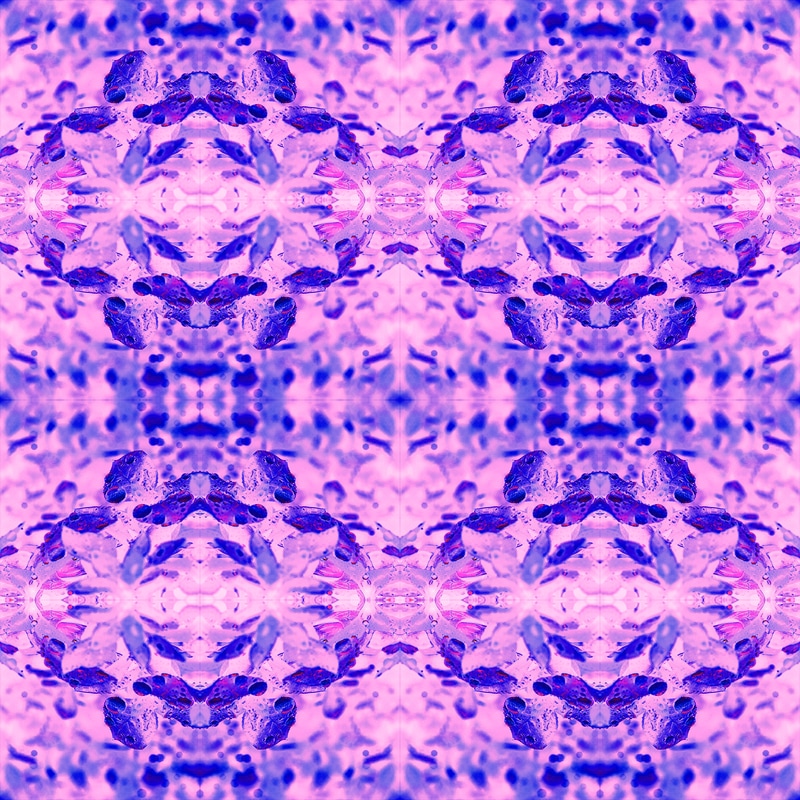
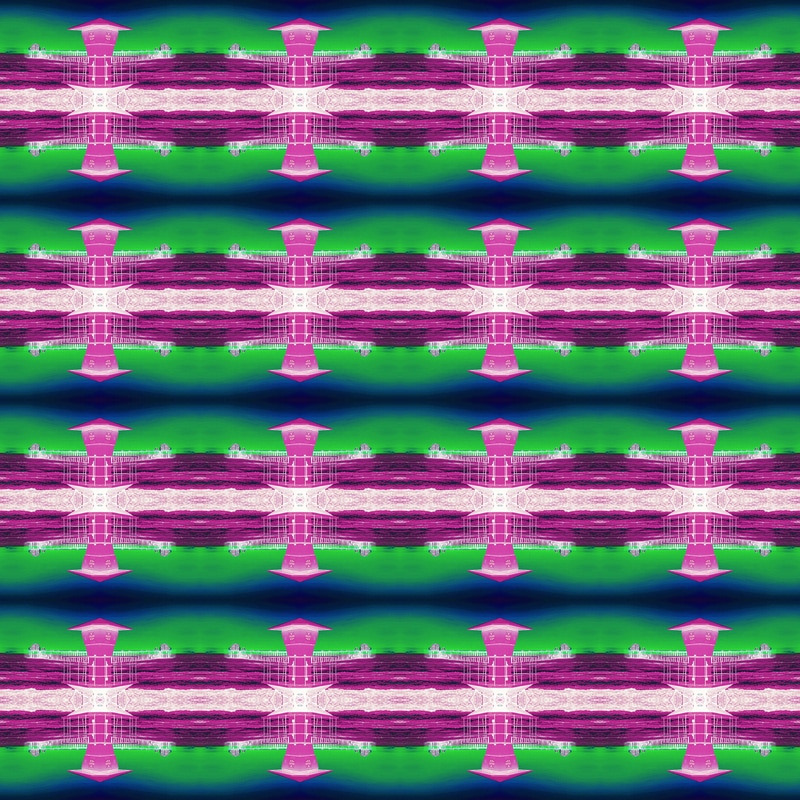
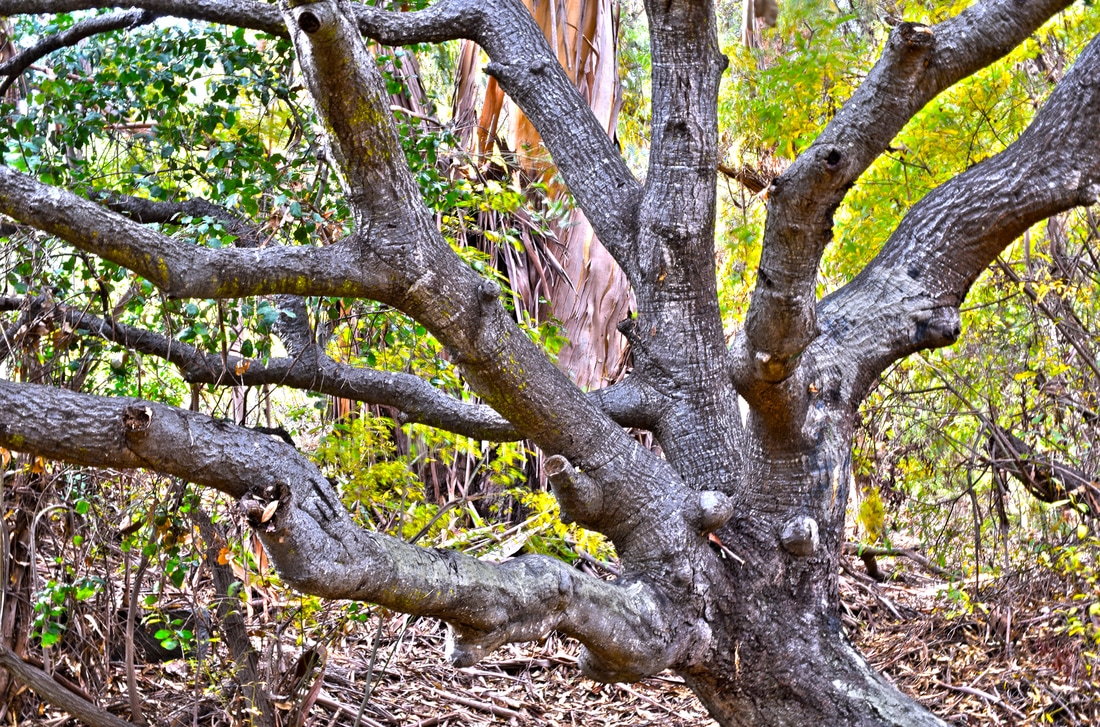
A mandala is a photograph that is minipulated to resemble a symmetrical circle. The original image is duplicated to create the symmetrical effect as seen in the examples above. To create a mandala, first you should download a template that you can use as a reference. Then use the magic wand too to highlight the area around a section in the template. Transfer your highlighted section to a separate tab where your original photograph is. Command + C will copy the area you have selected for you mandala. Then transfer that selection back to your template and paste it into the template. This should only take up one triangle in the template. Center your piece into that triangle so when you duplicate, it will match up and create a perfect circle. Now it is time to duplicate and flip your section. Keep it as close to the guidelines in the template as possible for the best results. Your final product will be a symmetrical circle with a newly formed pattern. The thing that I enjoyed most about this was trying to tamper with colors and make unique patterns. My favorite image is the image of a tree that worked perfectly for this project. The inverted colors gave it a cool effect. The hardest part was trying to choose a photo that would create a good pattern. If I could do it over again, I would choose images that are very natural. straight lines don't look the best in this project.
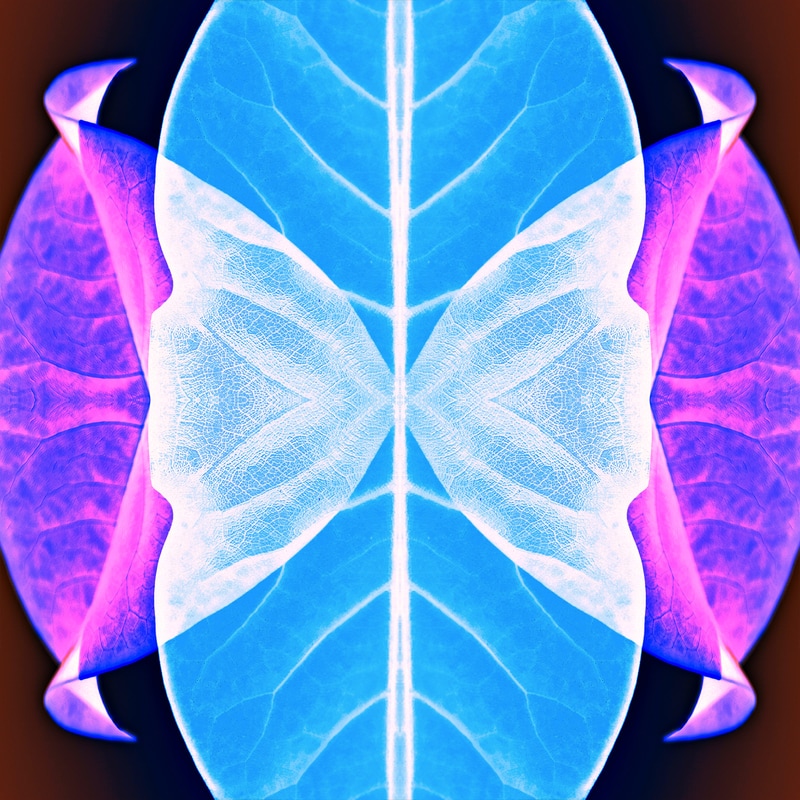
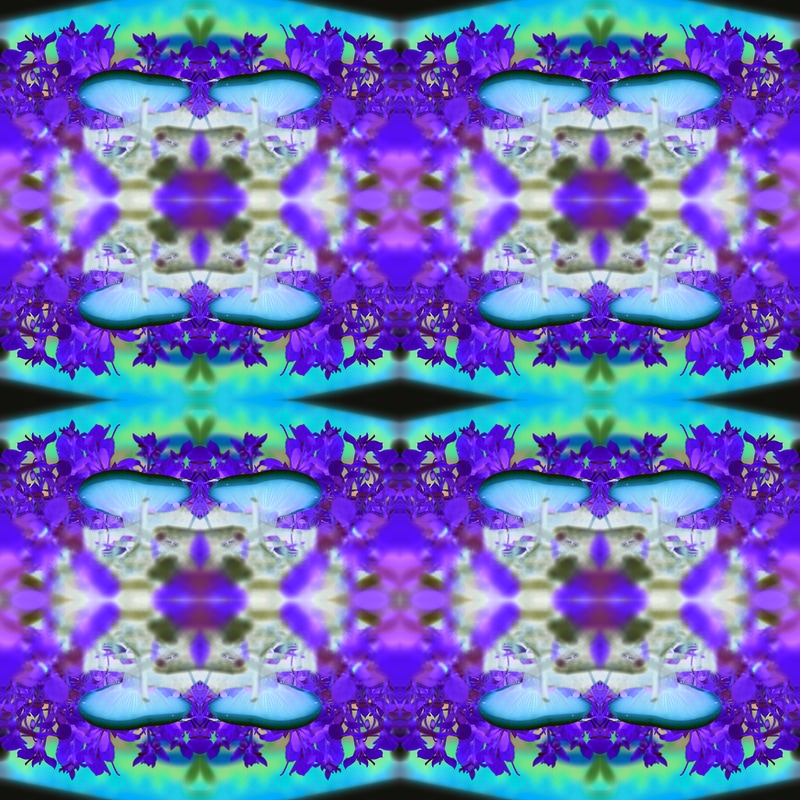
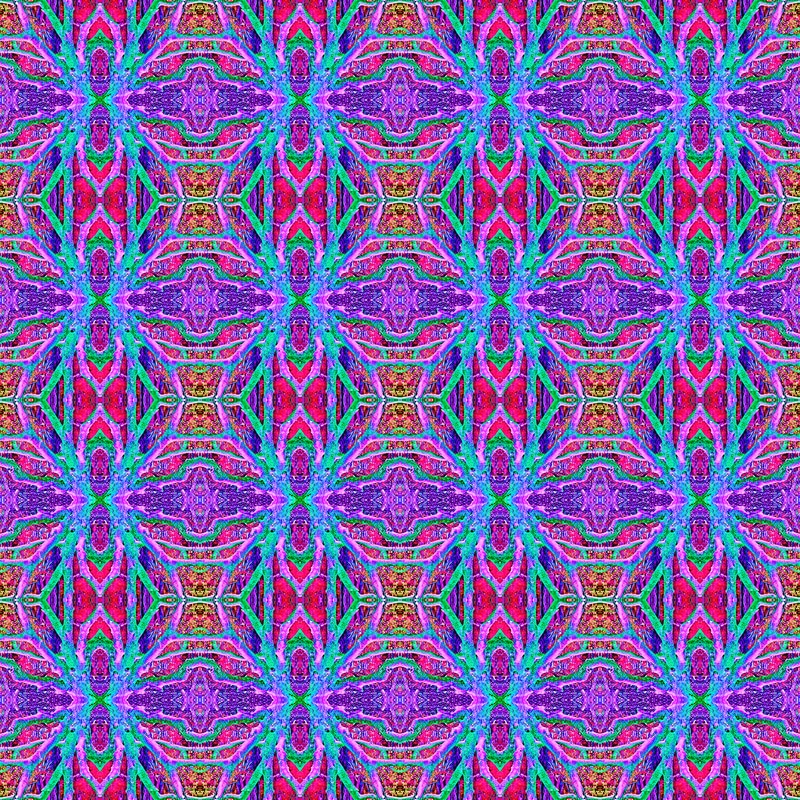
To me, a tessellation is an image editing technique used to reflect an image and create pattern. Most tessellations result in a clean seamless image with a creative and unique appeal to the viewer. To create a tessellation piece, it will be easiest to start by downloading a photoshop template to guide your duplications of the original photo. Once you add your original piece, you must crop the image to a 1 x 1 square so it has equal dimensions. Then once you have a perfect square, you can resize the image to match the size of the template. The smaller the image, the more duplicates you are going to need.... Place your cropped and resized image onto the top left corner of the template and make sure the guide lines are around the perimeter of your piece. Once you have this, you can duplicate your original photo layer. You then need to click, "Edit > Transform > flip horizontal/vertical. As you progress, make sure all edges line up and are a complete reflection of your original image. The thing I enjoyed most about this project was getting to tamper with certain images and colors to make some unique designs. My favorite image was the tessellation that I created out of the tree because the colors, detail, and pattern came out completely unique. This project was simple and straight to the point, but I struggled with choosing photographs that would work the best for this project.
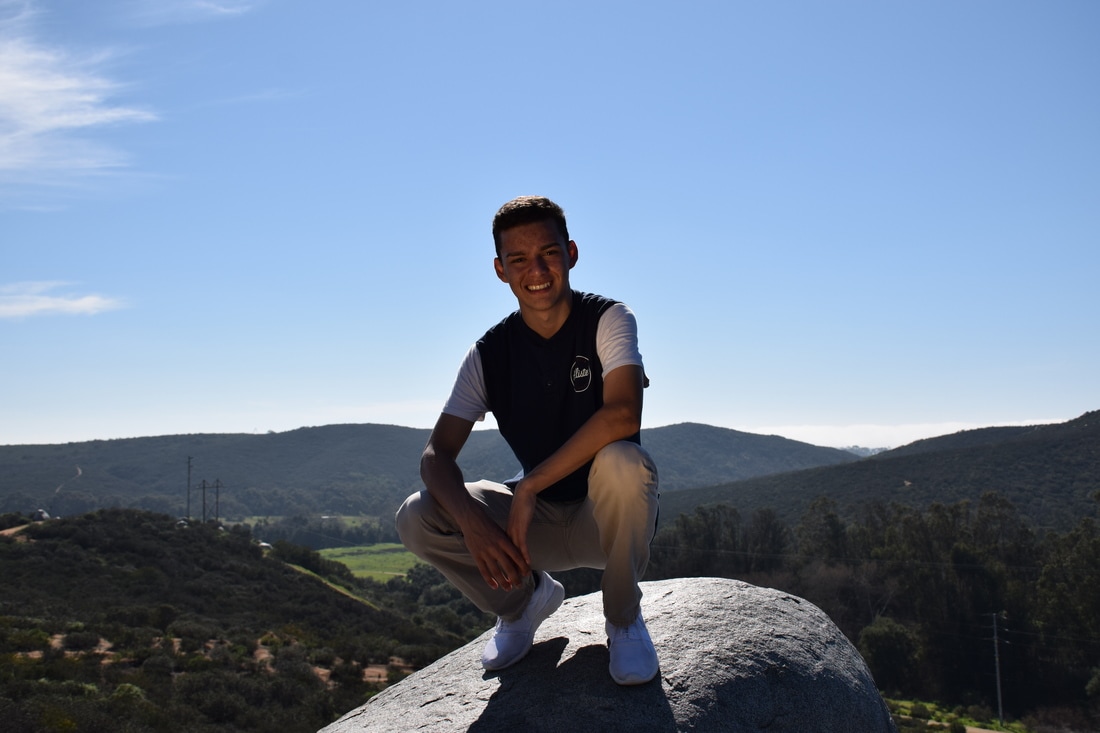
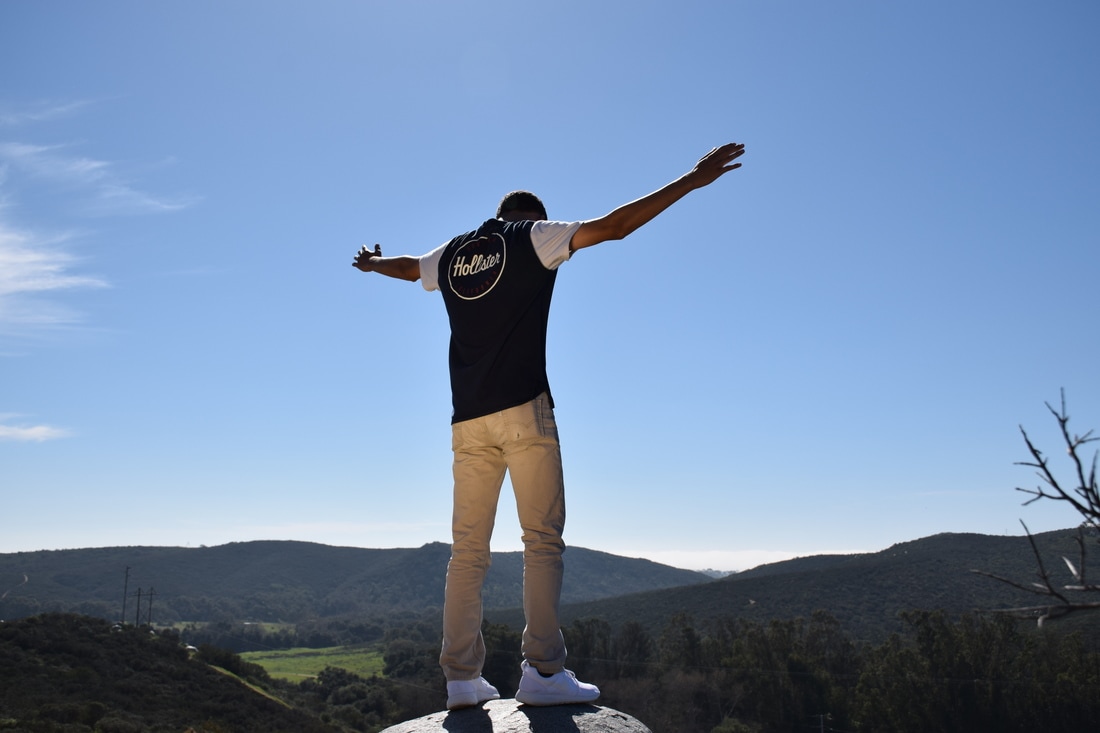
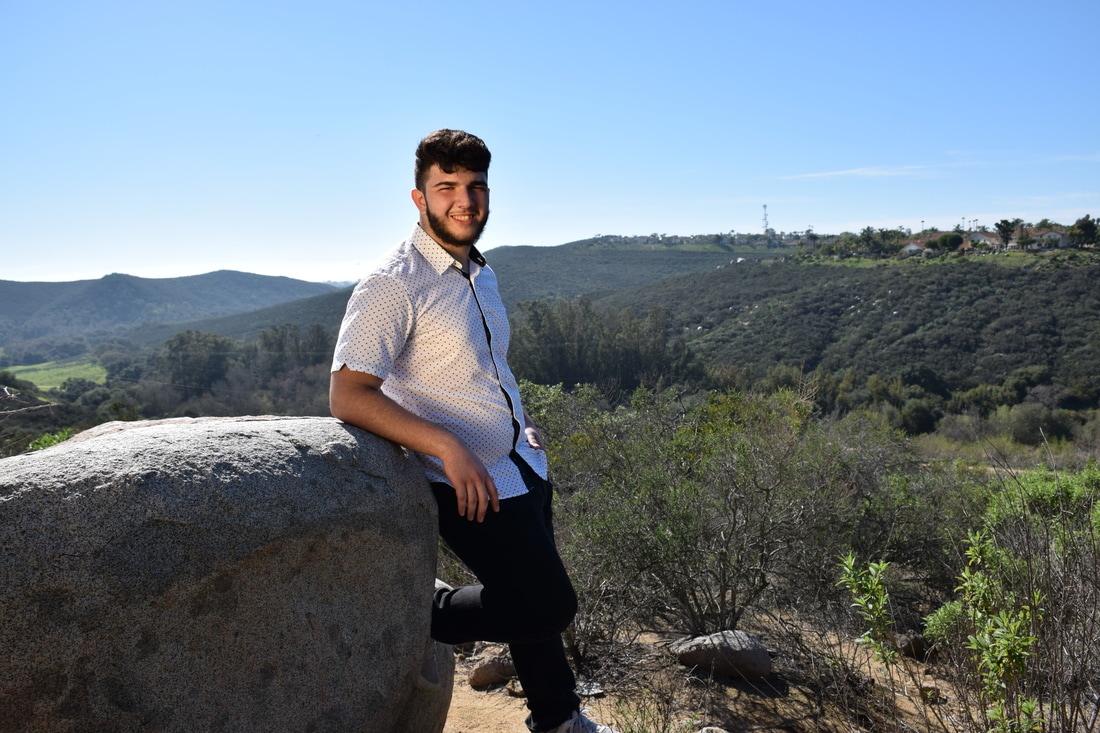
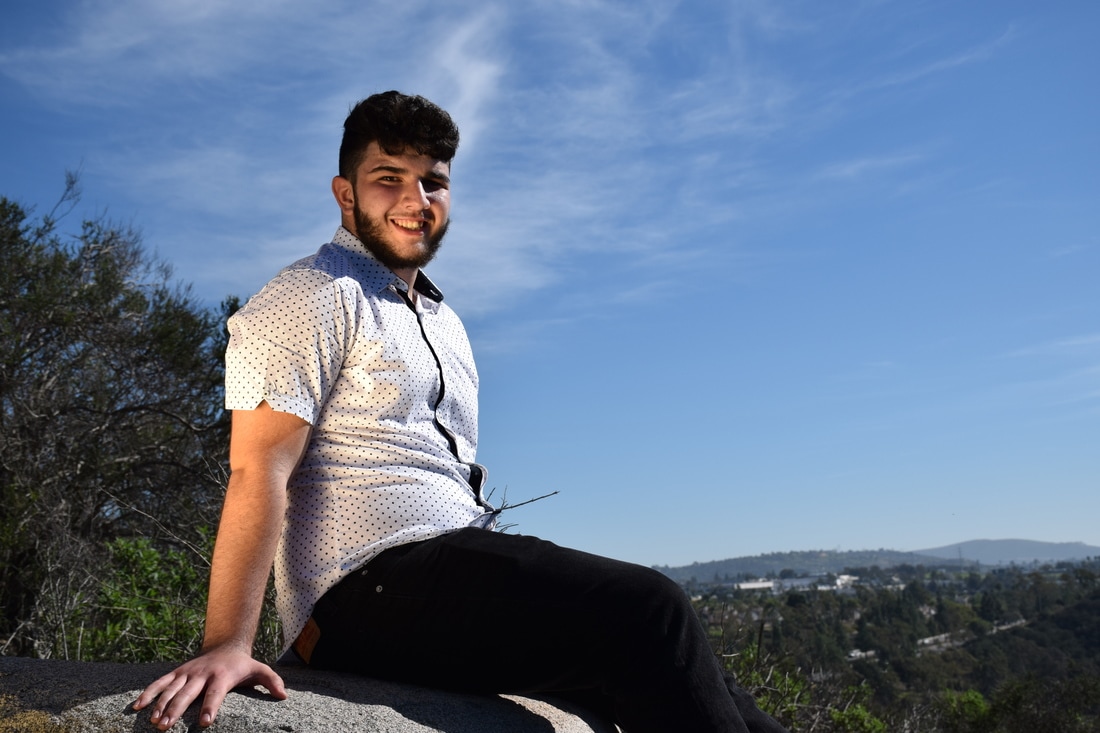
1) During our class trip to duckpond, I learned that lighting and scenery is a key element in portraiture.
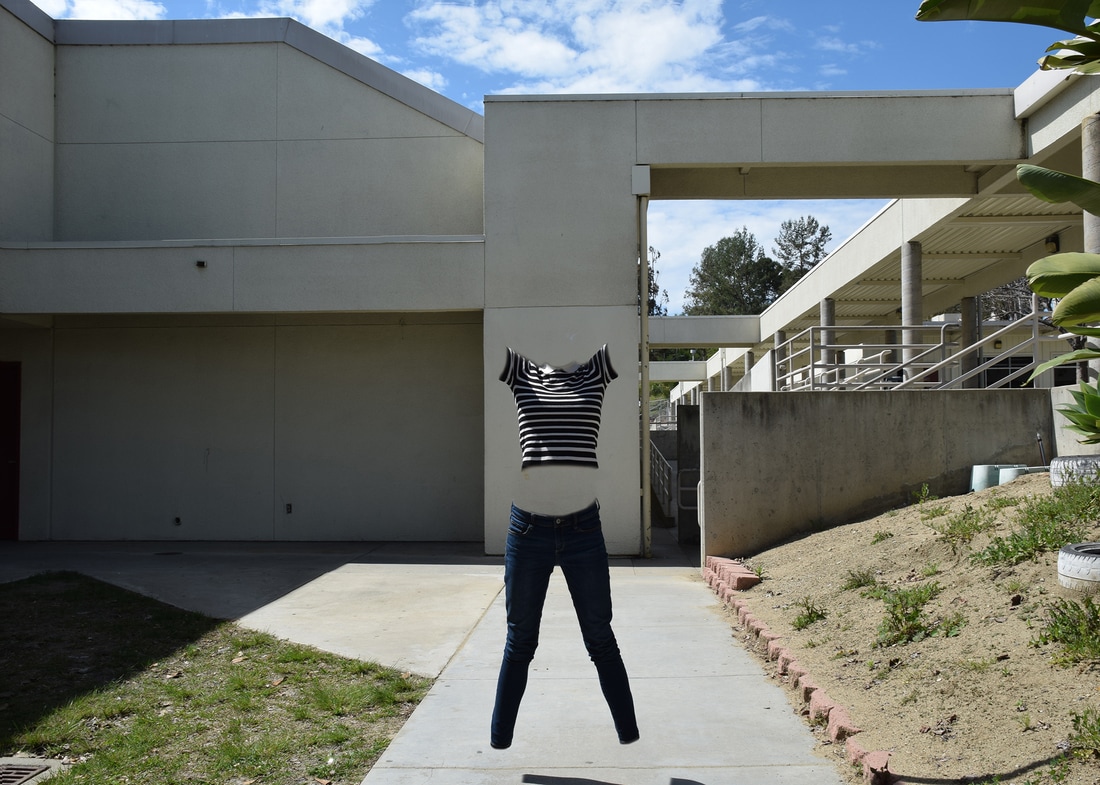
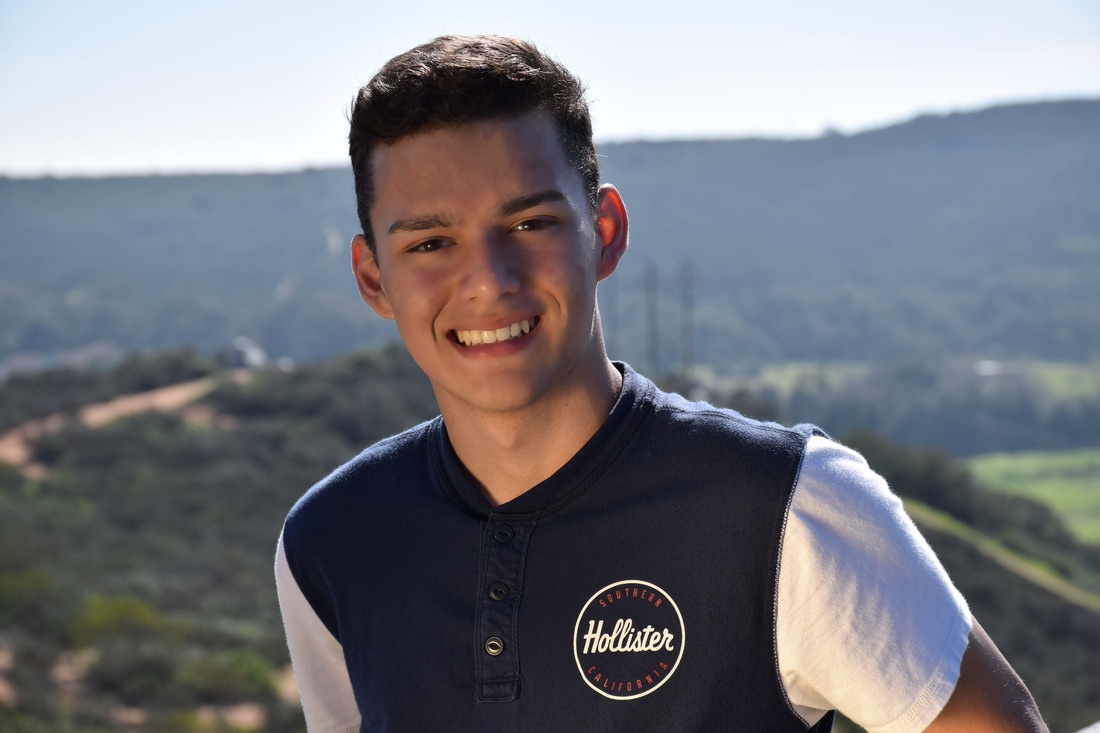
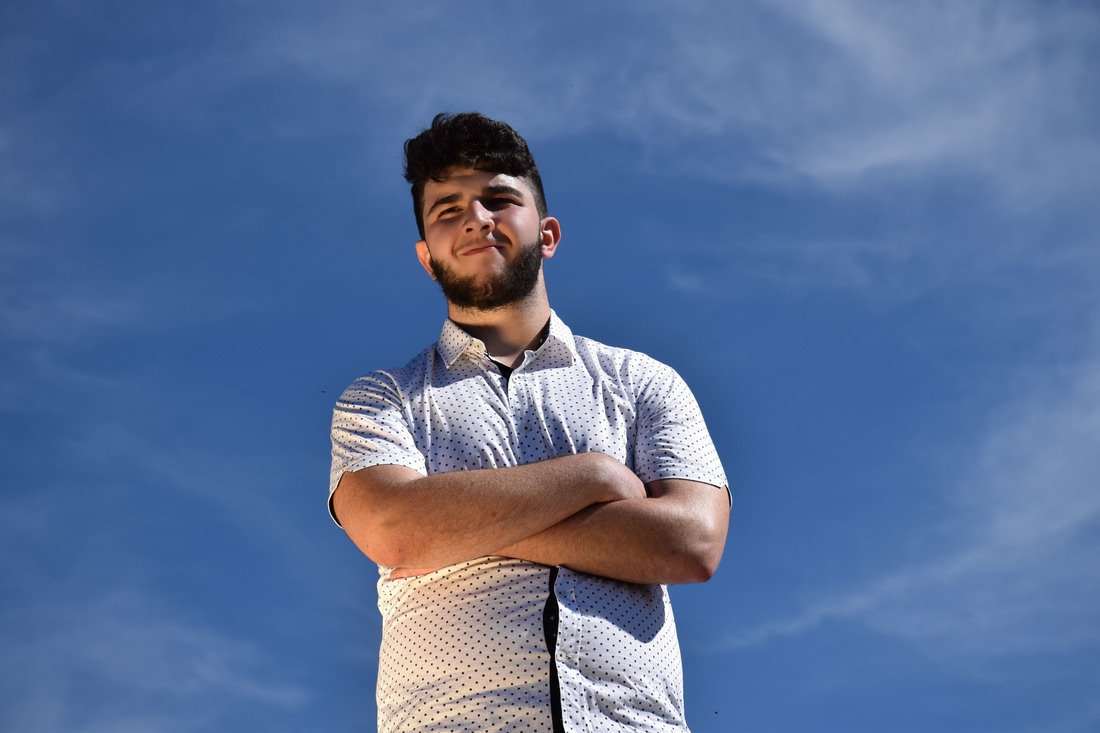
2) We had no help choosing poses for this project. We made up all of our own poses, for the most part, to fit the surroundings and angle of the light. 3) We used our golden reflector to provide a warm and natural looking light onto the subject. The light reflecting off of the subject gave a golden glow to our model. 4) To retouch our photographs, I just followed the steps provided to Mrs. Moncures photo touch-up tutorial. First I blended most of the blemishes in the subjects face. Then I sharpened the image to give it a realistic and not blurry look. 5) Positions such as wedding photography, model photography, and journalism photography, use portraiture to capture the emotions and feeling of the subject that they are taking a photo of. Mainly private parties hire wedding photographers, but journalism photography can come from anyone. It does not matter if they have a career in photography or not. 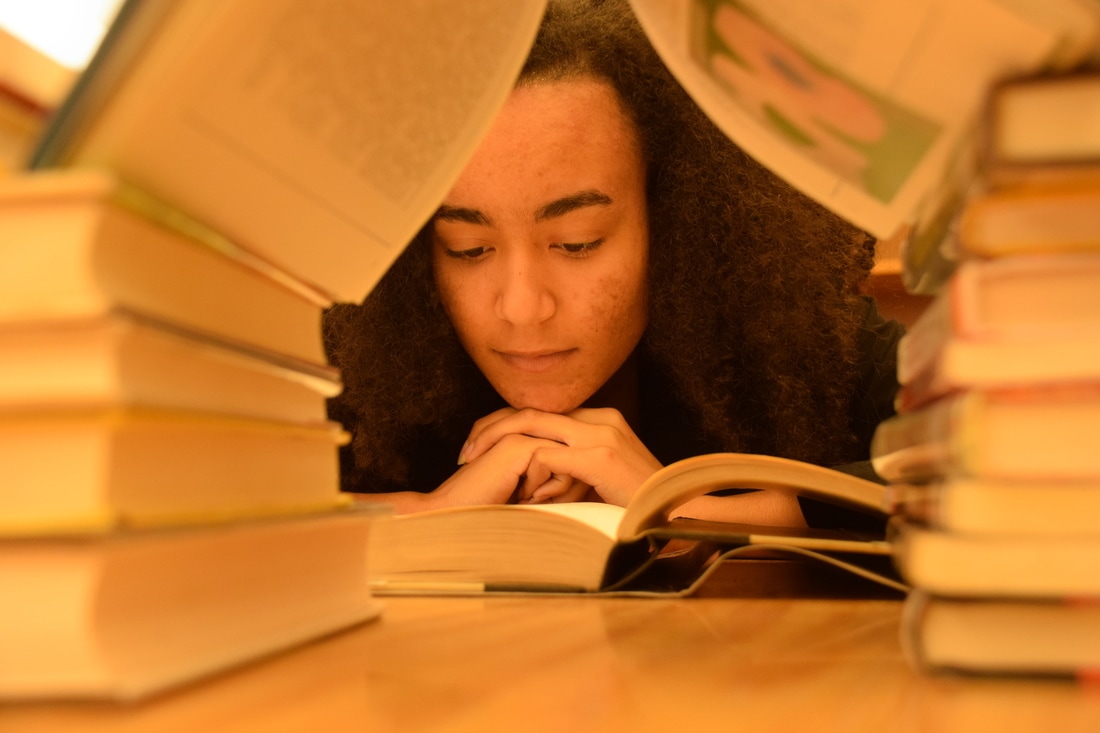 Connar Kellogg, Class of 2018 Most individuals would agree that the satisfaction of achievement comes from the achievement itself. With this statement, I would personally have to disagree. Not because satisfaction isn't the result of an achievement, but because satisfaction comes from the personal motivation and effort that is exerted to make an achievement become a reality. This photograph expresses the happiness and satisfaction that can be found in students while striving to achieve a certain goal. Whether that goal is to study for a heavily weighted assessment or to complete a test that pushes your personal limitations, it is important to remember a few points of interest. Through my experiences as a student and as an everyday citizen, I have found that longer you stay motivated and the harder you work to strive towards your goal, the greater the satisfaction will be once your achievement is reached.
|
Archives
June 2017
Categories |


 RSS Feed
